


What Even is Browned Butter?
Browning butter is one of those small kitchen tricks that makes a huge difference — a few extra minutes turns regular melted butter into something deep, nutty, and almost caramel-like. Here’s exactly how to do it, step by step, so you get it right every time.
Themes That Might Interest You⬇️
- What Are the White Specks?
- Choosing the Right Butter
- Don’t Walk Away: The Biggest Mistake to Avoid
- Why Pan Size Matters
- FAQ
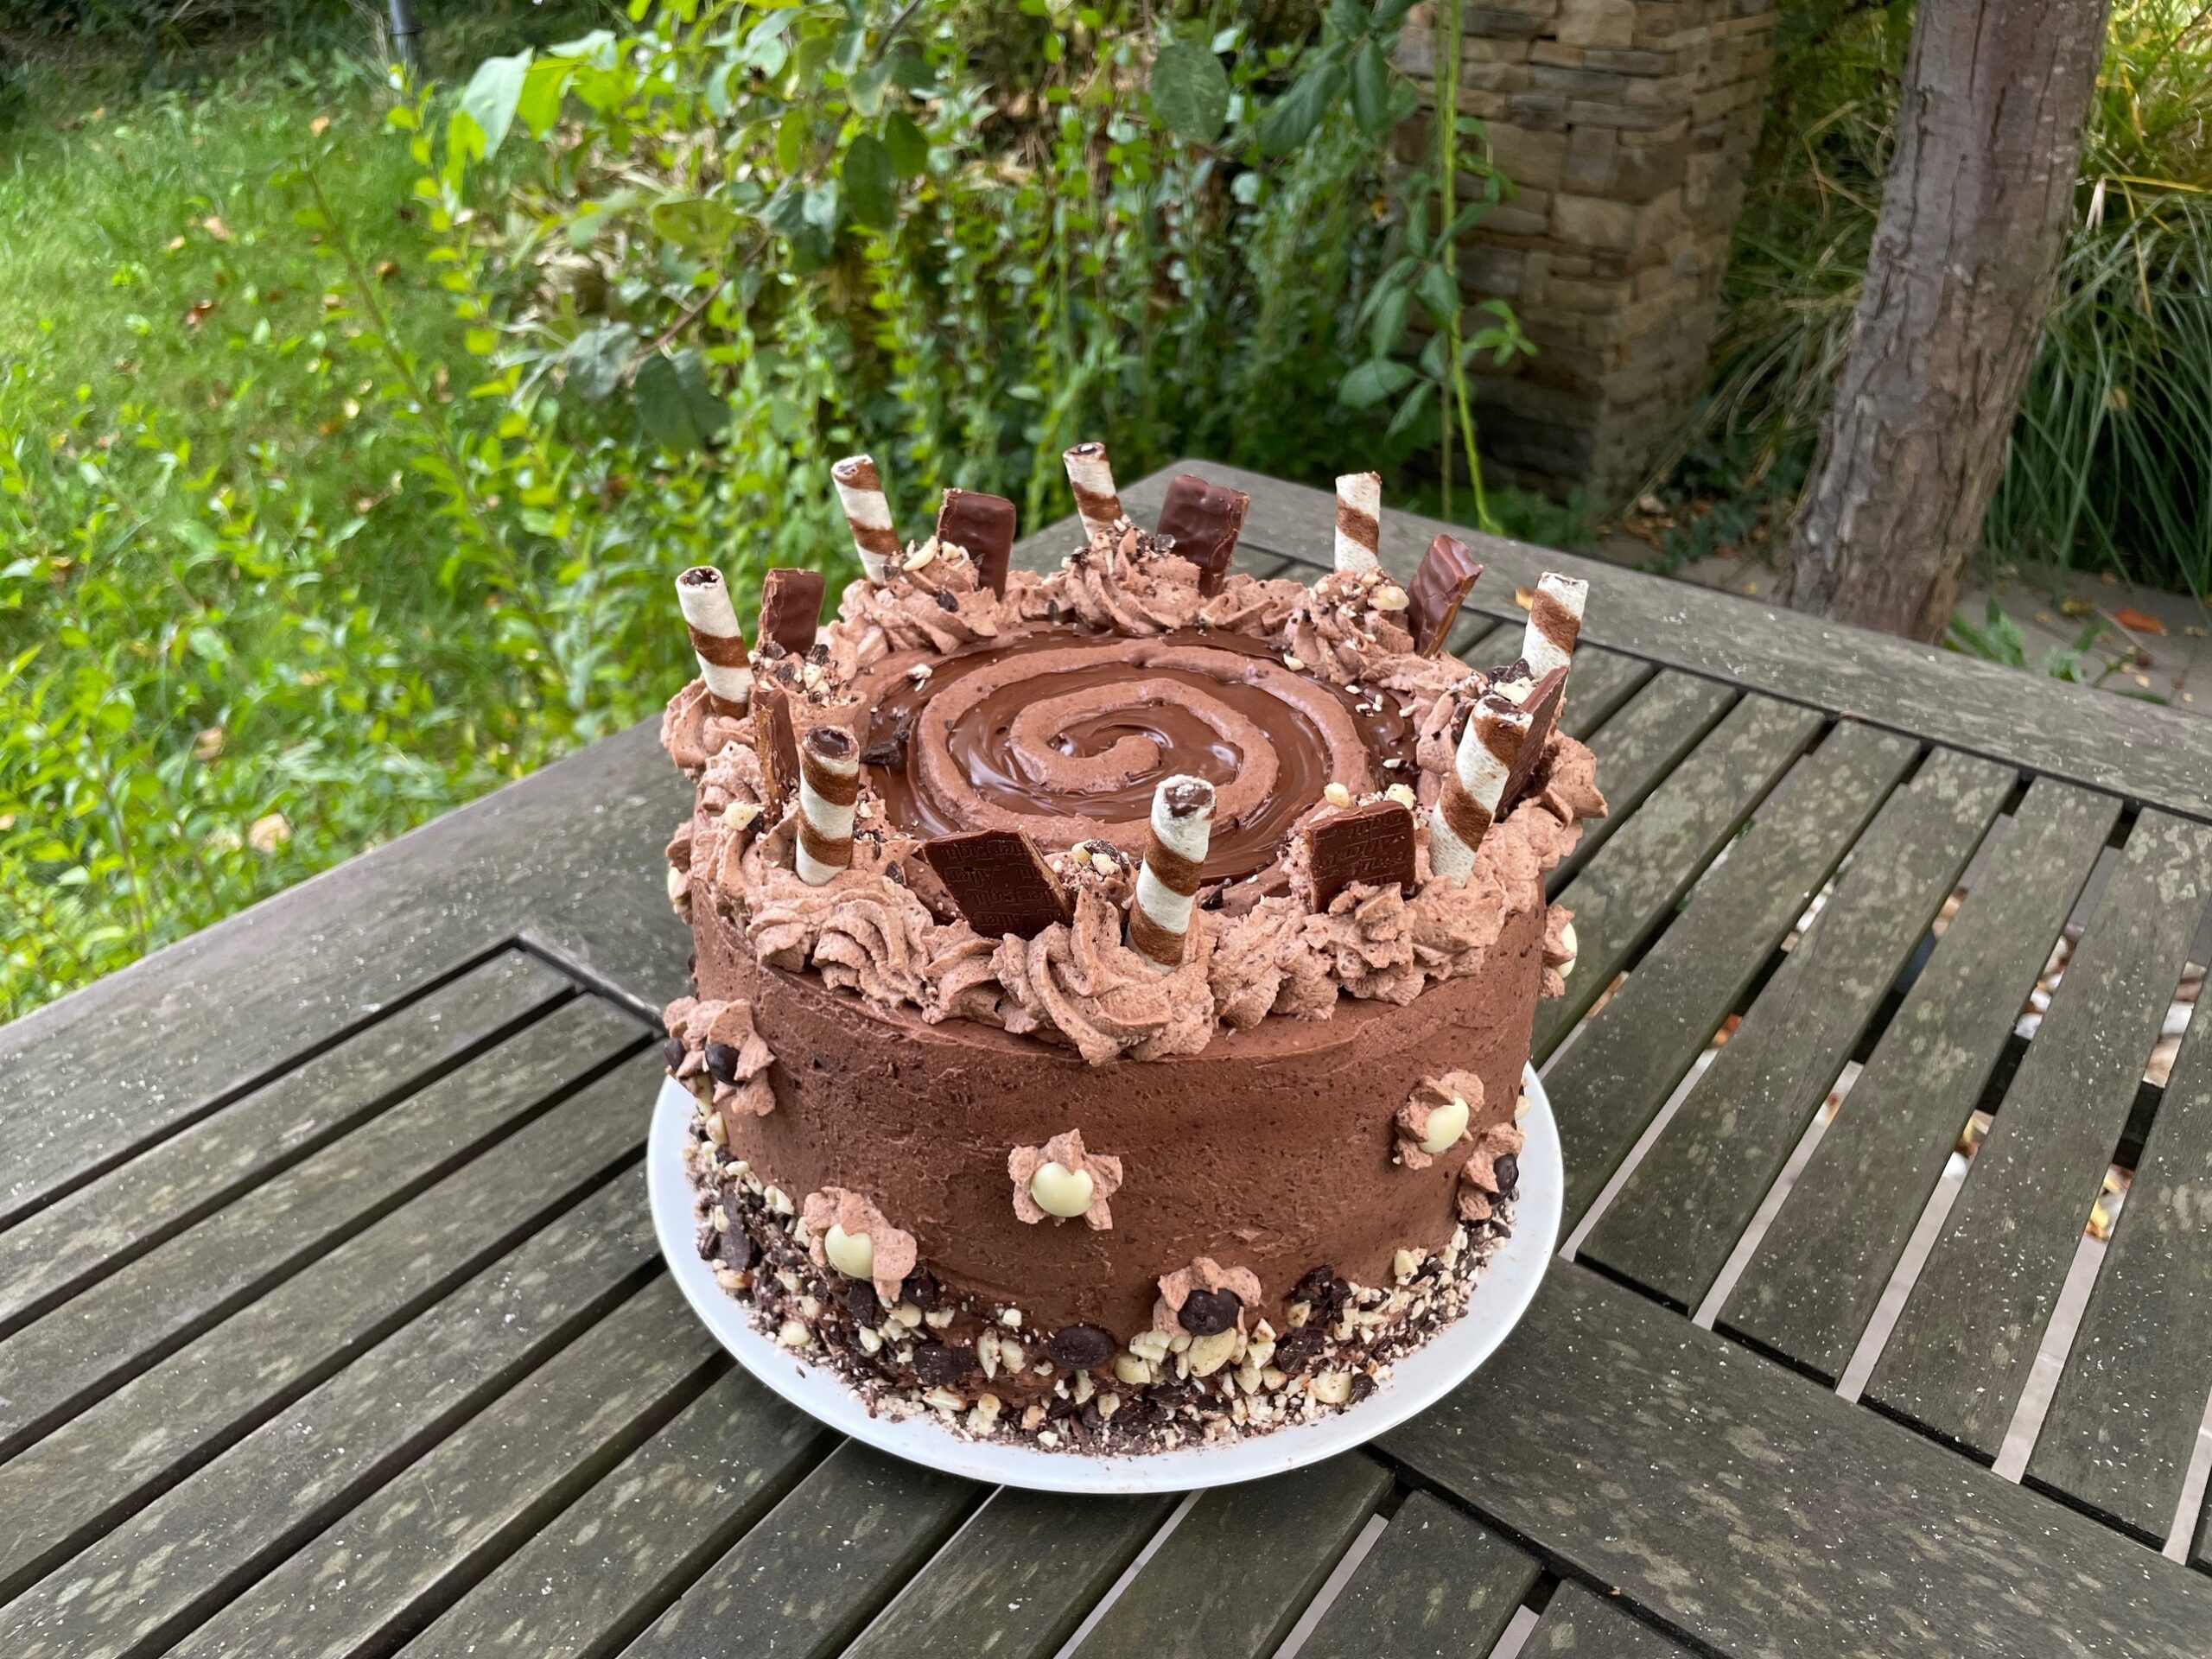
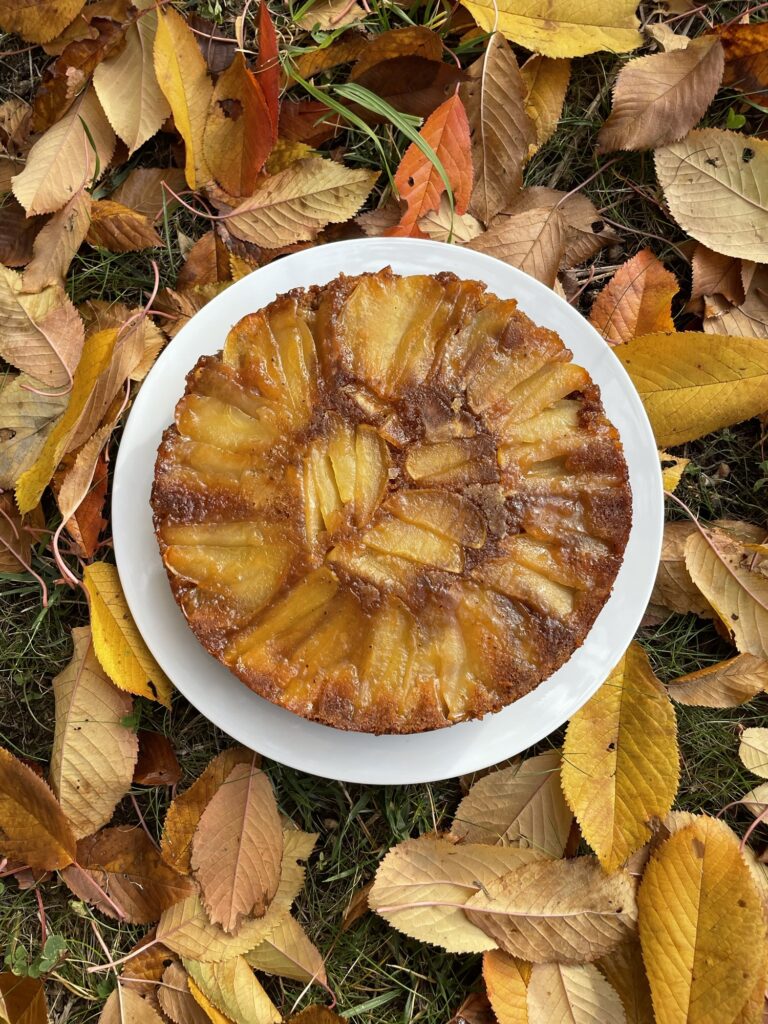
Recipes with brown butter

What Are the White Specks?
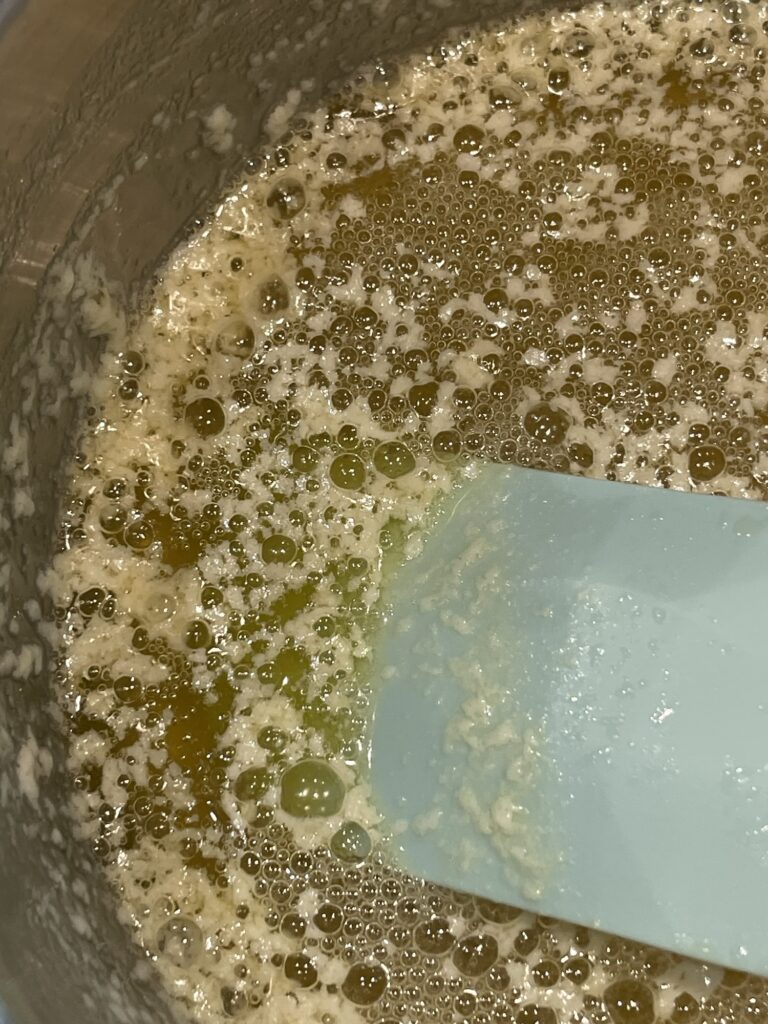
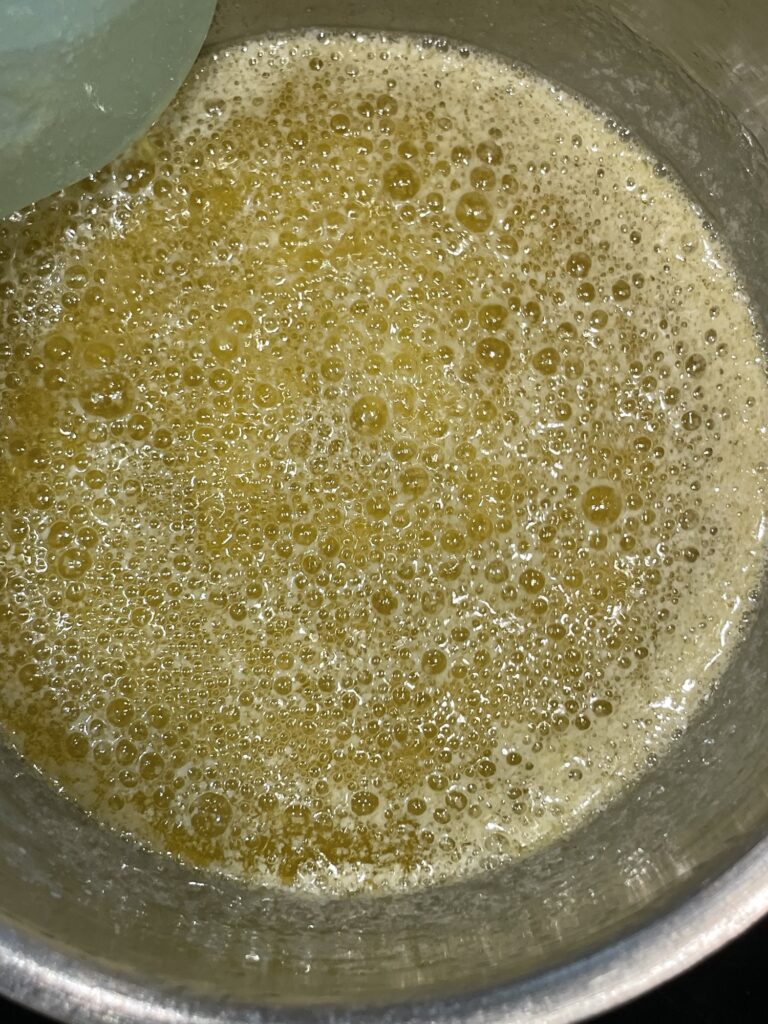
hose little white flecks that show up as the butter melts are the milk solids — tiny bits of protein and milk sugar naturally found in butter, separate from the fat itself.
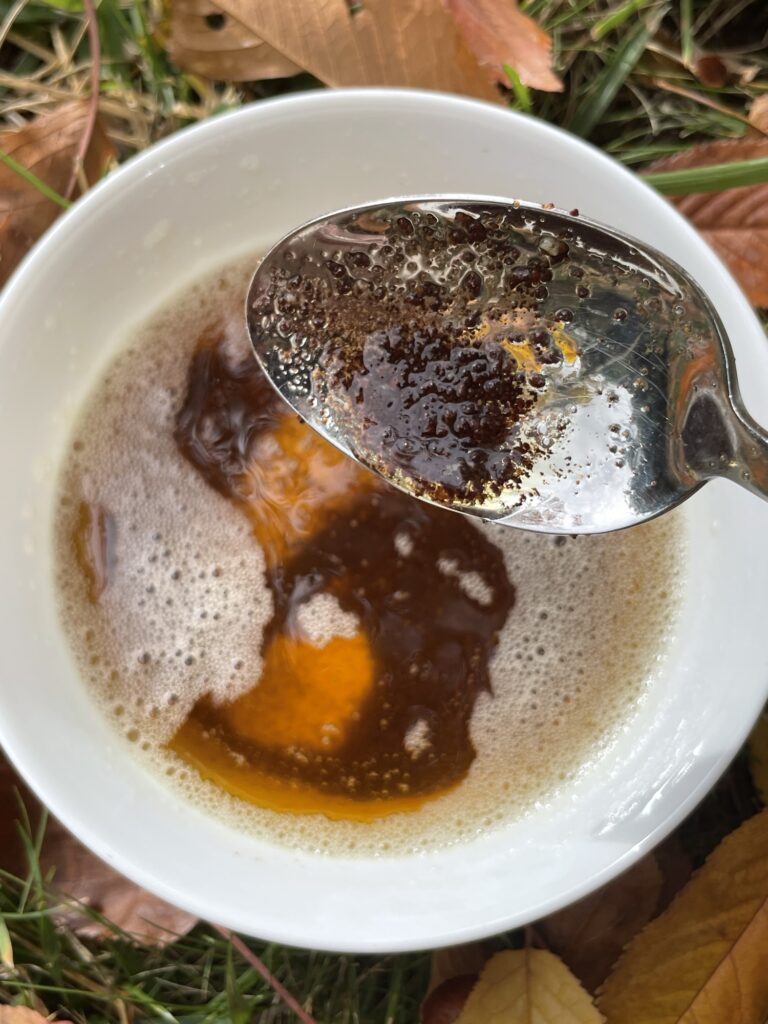
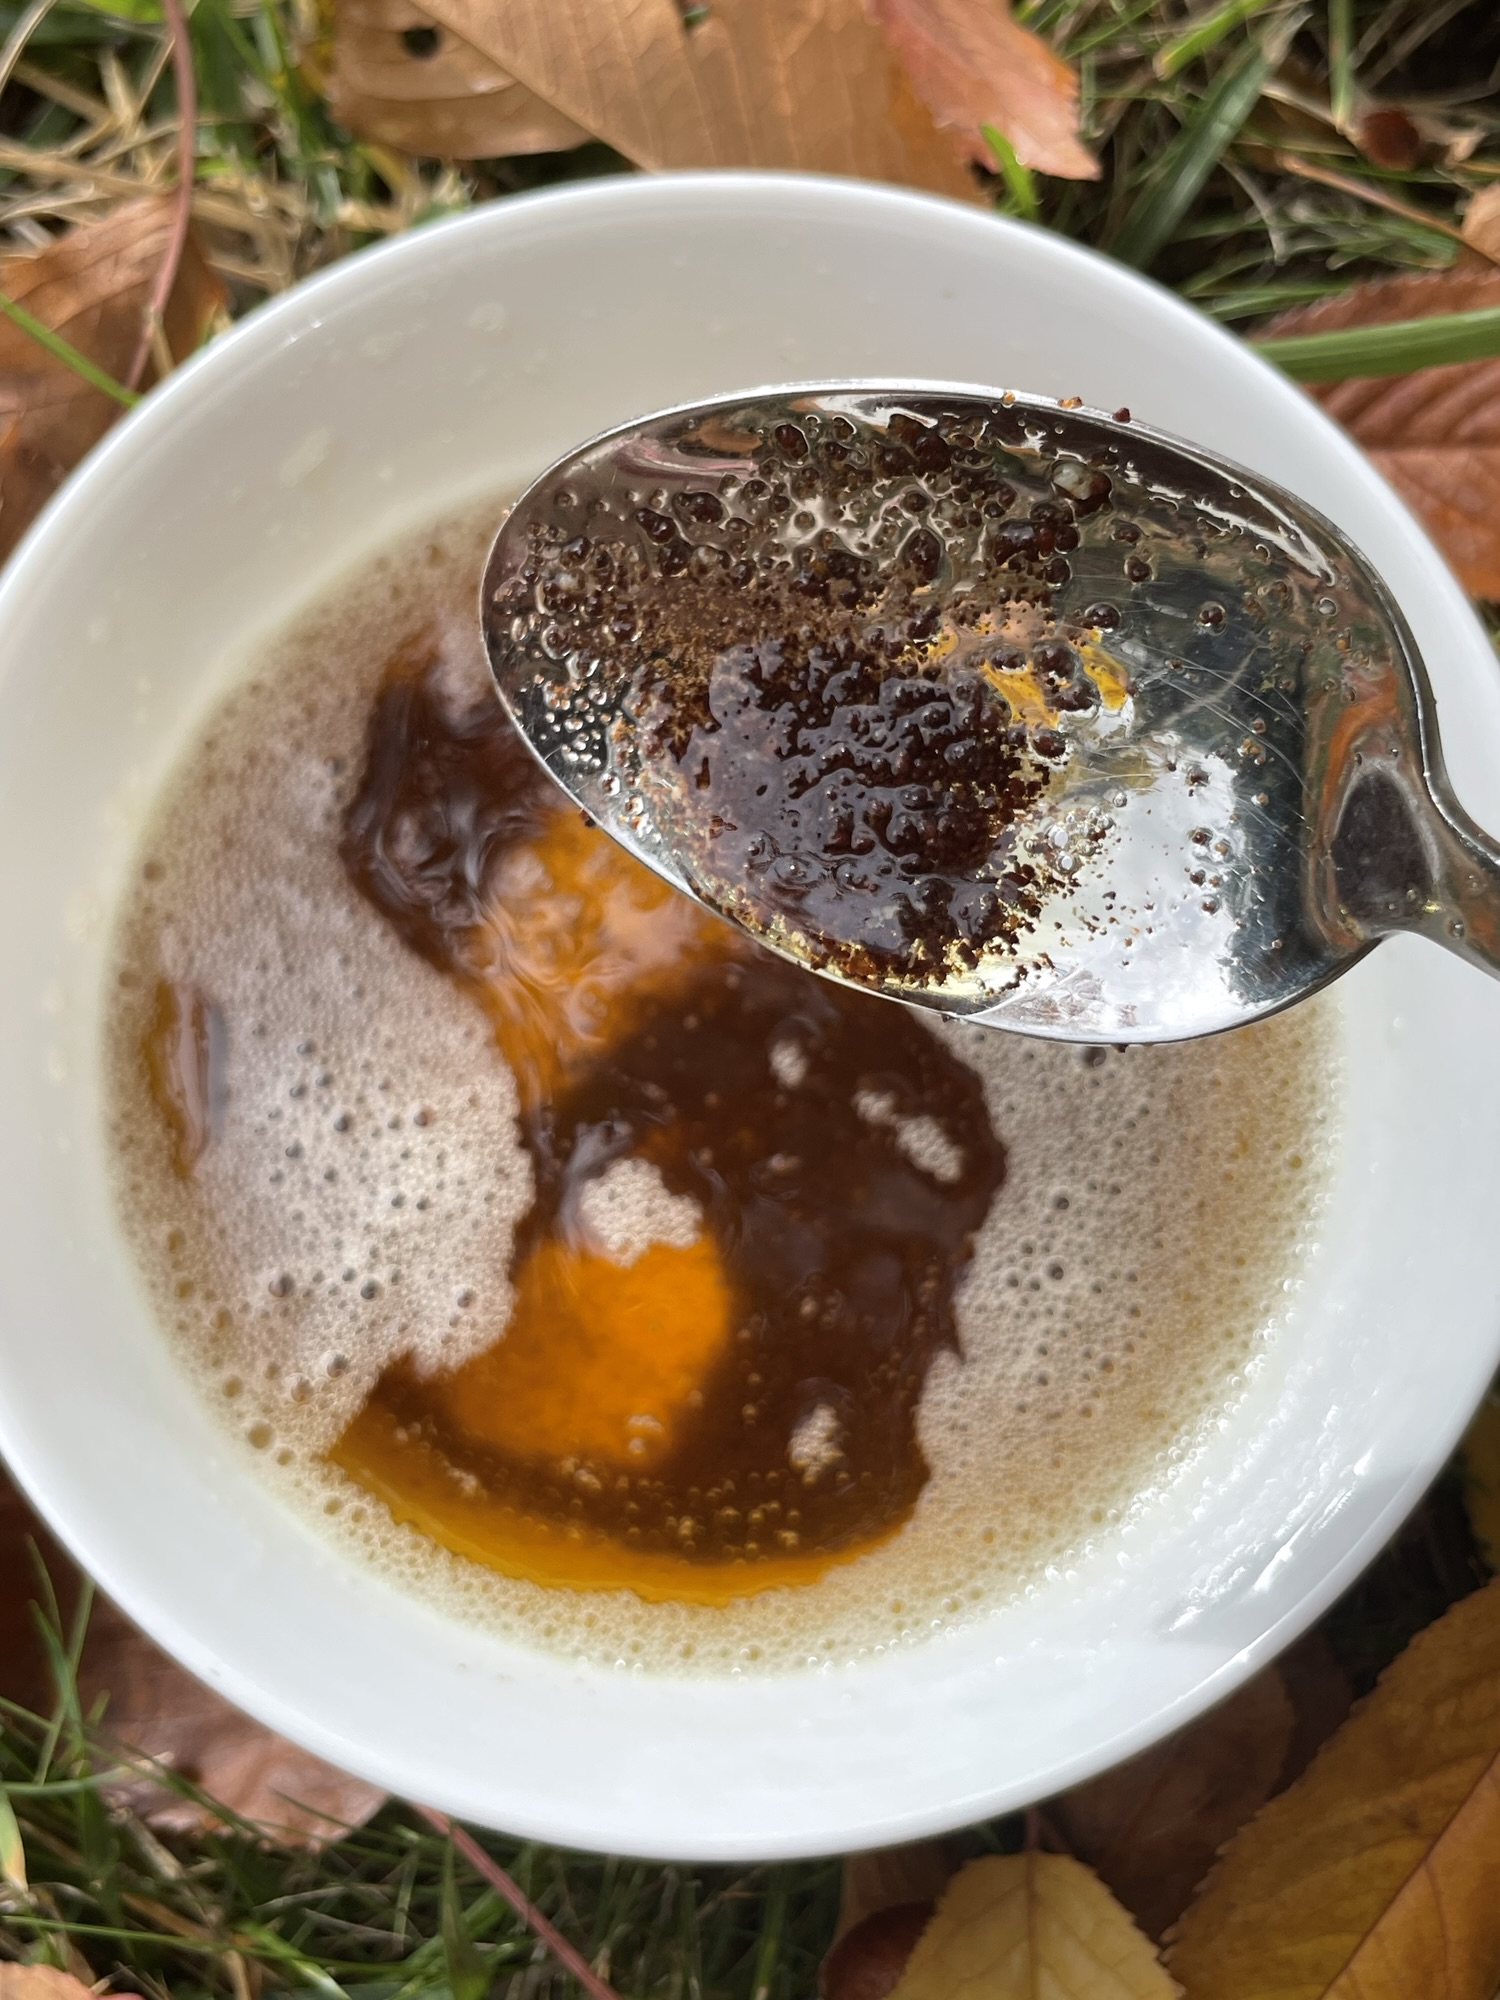
As the butter keeps cooking, those solids toast and turn golden brown, which is exactly what gives browned butter its deep, nutty flavor and aroma. If you skimmed them off thinking they were something to remove, you’d actually lose the whole point of browning the butter in the first place.
Choosing the Right Butter
Not all butter browns the same way. Stick with real, unsalted butter rather than a spread or margarine, since those often have added water and stabilizers that won’t brown properly.
If you want to go the extra mile, try European-style butter — its higher fat content gives you an even richer, nuttier result than standard butter.
Don’t Walk Away: The Biggest Mistake to Avoid
The biggest mistake people make is walking away once the butter melts — this is exactly when it needs your attention most. It can look like nothing much is happening for a minute, which is when people get distracted.
The whole process from melted to perfectly browned only takes a couple of minutes, so it can go from “almost there” to burnt faster than you’d expect if you’re not watching closely.
Why Pan Size Matters
It’s worth using a wider pan rather than a narrow, deep pot. Butter can bubble up and splatter slightly as the water cooks out, so a bit of extra room helps keep things contained.
A wider pan also gives the butter more surface area, which means it browns more evenly and a little faster than it would in a deep pot.
FAQ
Yes, it works the same — just keep in mind your final dish will be slightly saltier, so you may want to adjust any added salt in the recipe.
Let it cool completely, then keep it in an airtight container in the fridge for up to a week, or freeze it for up to 3 months.
Yes, but let it cool slightly first (a few minutes) if you’re adding it to eggs or other temperature-sensitive ingredients, so it doesn’t cook them.
Anywhere you’d use regular melted butter — cakes, cookies, frosting, even drizzled over vegetables or pasta for an easy flavor boost.

How to Brown Butter
Ingredients
Equipment
Method
- Melt the Butter: Place your butter in a light-colored saucepan over medium heat. Let it melt fully — no need to stir yet, just let it sit.
- Watch for the Foam: Once melted, the butter will start bubbling and foaming on top. Turn the heat down slightly and start stirring so it doesn’t catch on the bottom.
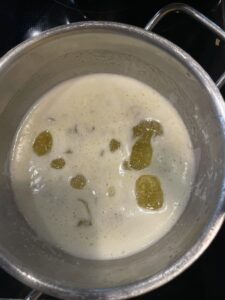
- Look for the White Specks: After a few minutes, you’ll notice little white flecks forming — those are the milk solids separating out. Keep stirring gently; this is exactly what needs to happen.
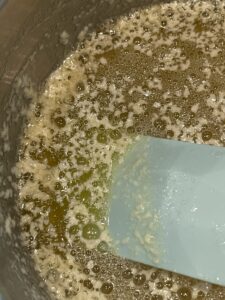
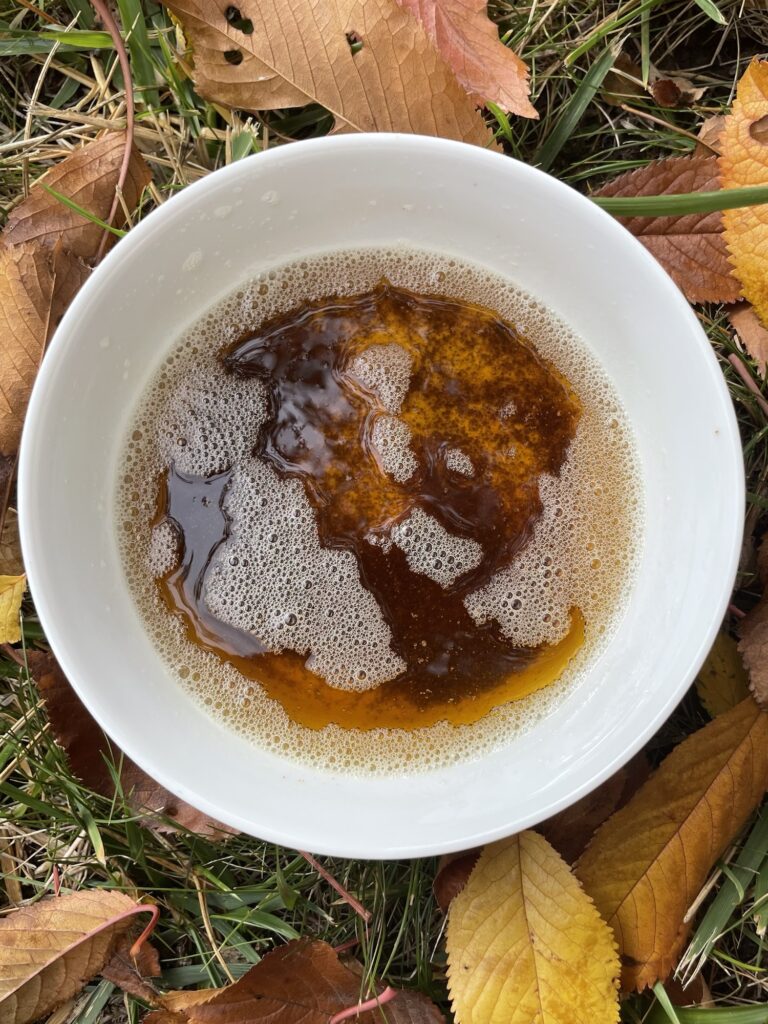
- Toast Until Golden: Around the 7-10 minute mark, those specks will turn golden brown, and you’ll get a nutty, toasty smell. The second you smell that, it’s ready.
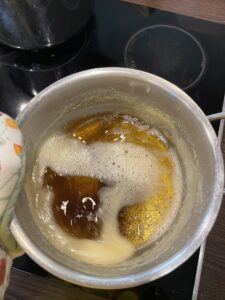
- Stop the Cooking: Pour the butter immediately into a heatproof bowl — don’t leave it in the hot pan, or it’ll keep cooking and can burn fast. Let it cool slightly before using. Enjoy 😉
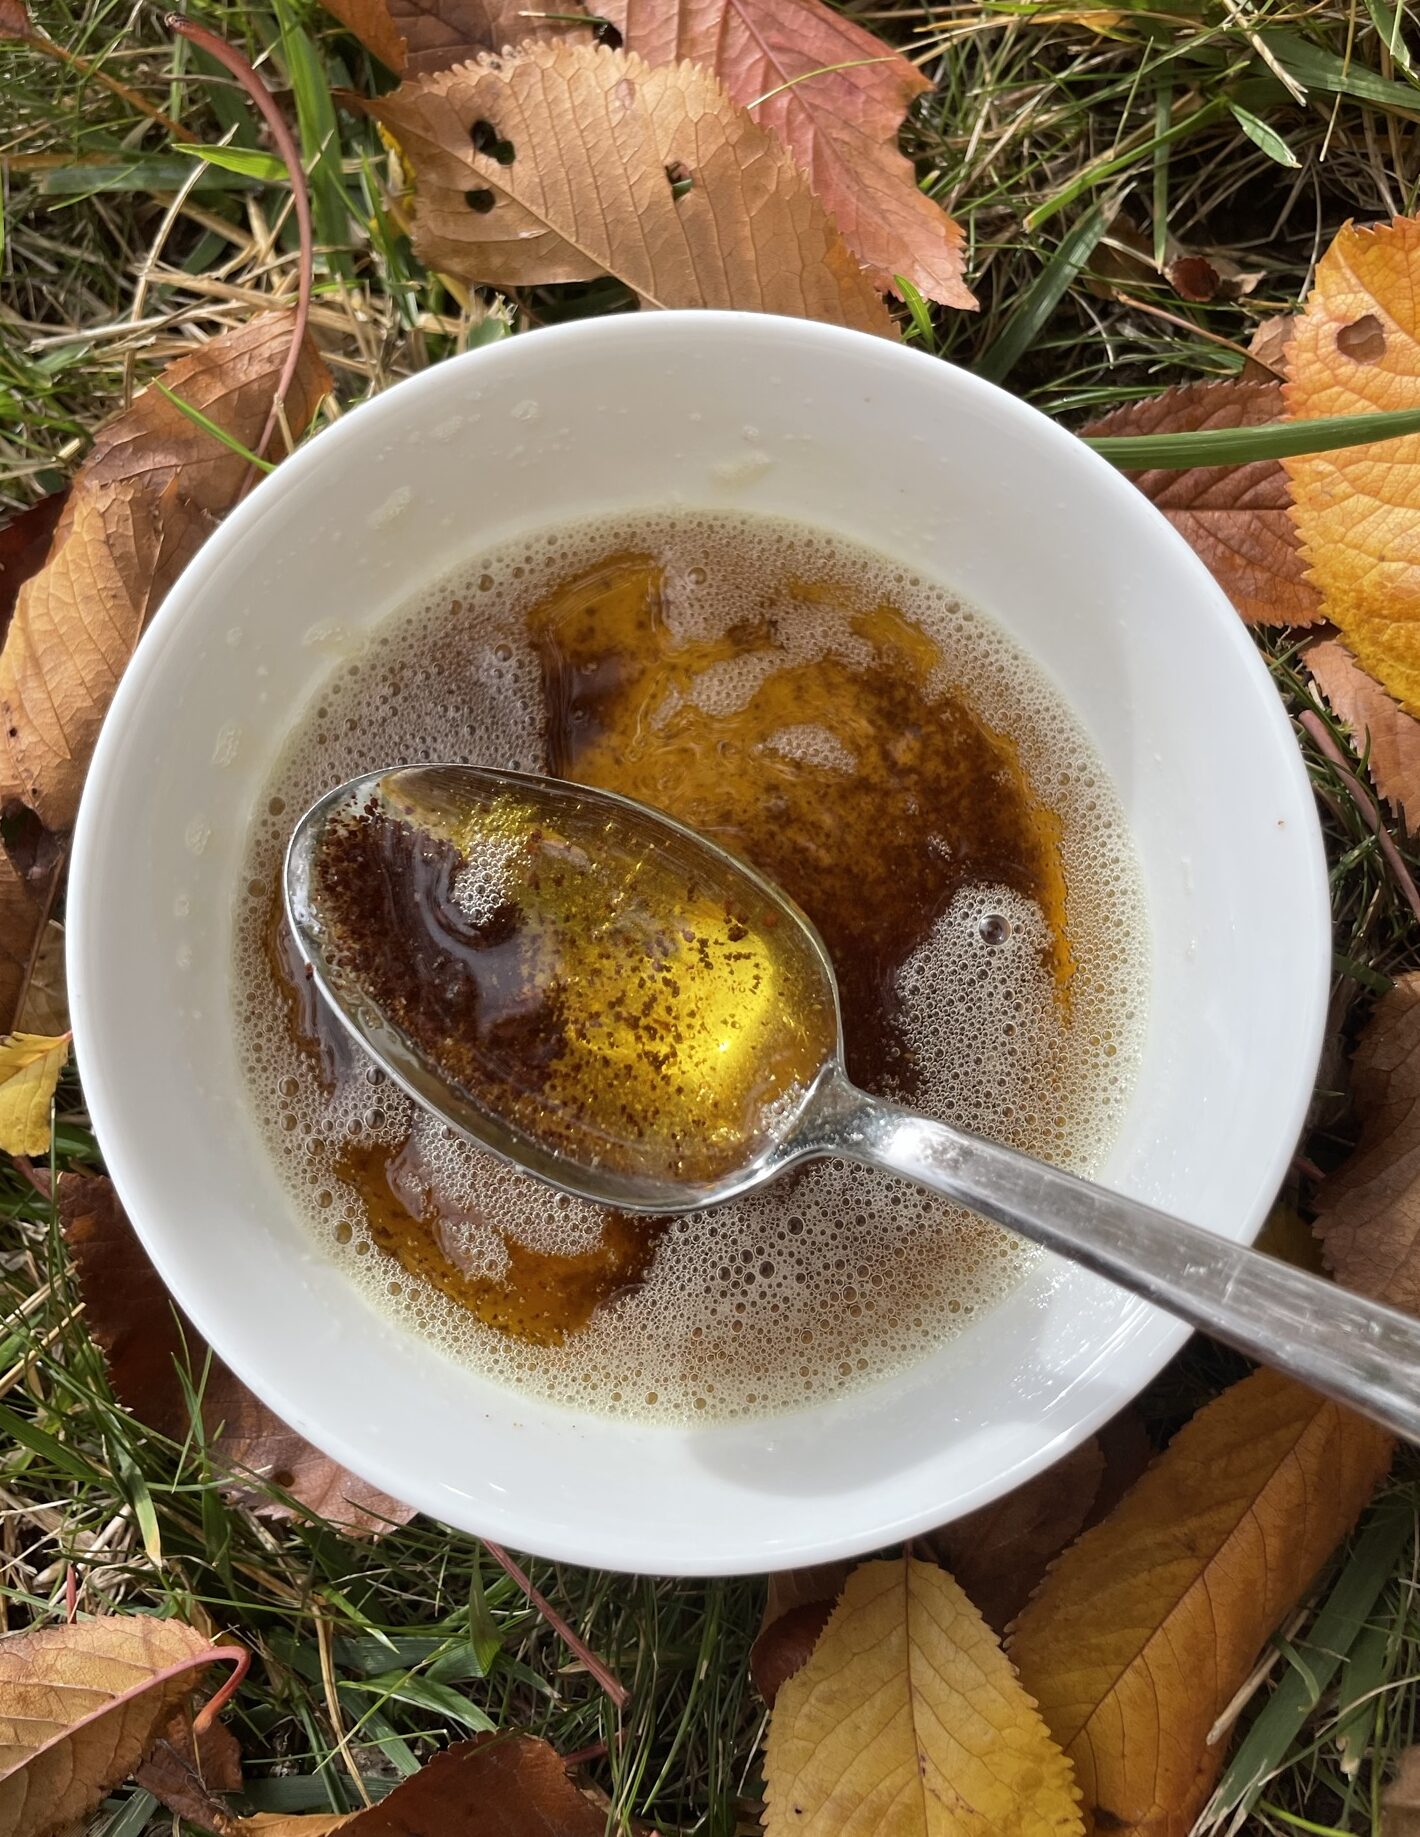
[…] HOW TO MAKE BROWN BUTTER CLICK HERE […]