
A Dessert Close to My Heart
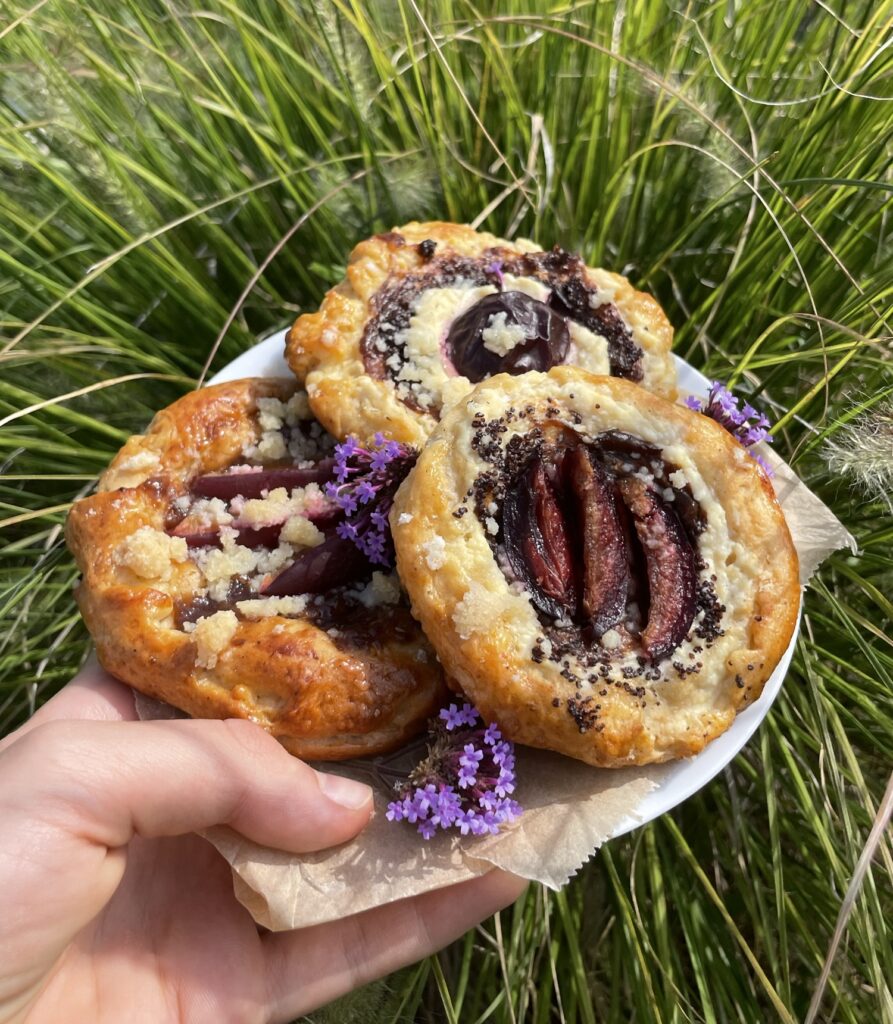
This dessert has a really special place in my heart. My mom and I always have it whenever we go somewhere — whether it’s in the High Tatras on a hike for a bit of energy, or just sitting in a cafe enjoying one together. We can’t resist it whenever we see it 🙂 It’s honestly impossible for us to say no.
That’s why I wanted to share this recipe with you, so you can taste a little something from Czech baking. I’m not Czech myself, but some of my family is from the Czech Republic, and they love to bake too — this recipe feels like a small piece of that.
If you enjoy traditional recipes like this, be sure to check out my:
My Grandma’s Authentic Slovak Bábovka (Marble Cake)👵
Themes That Might Interest You⬇️
- A Dessert Close to My Heart
- A Little History Behind Moravské Koláče
- Why the Starter Step Matters
- The Role of Curd Cheese in the Filling
- A Recipe Worth the Extra Time
- Making the Filling and Jam Work Together
- Getting the Dough Texture Right
- Frequently Asked Questions
A Little History Behind Moravské Koláče
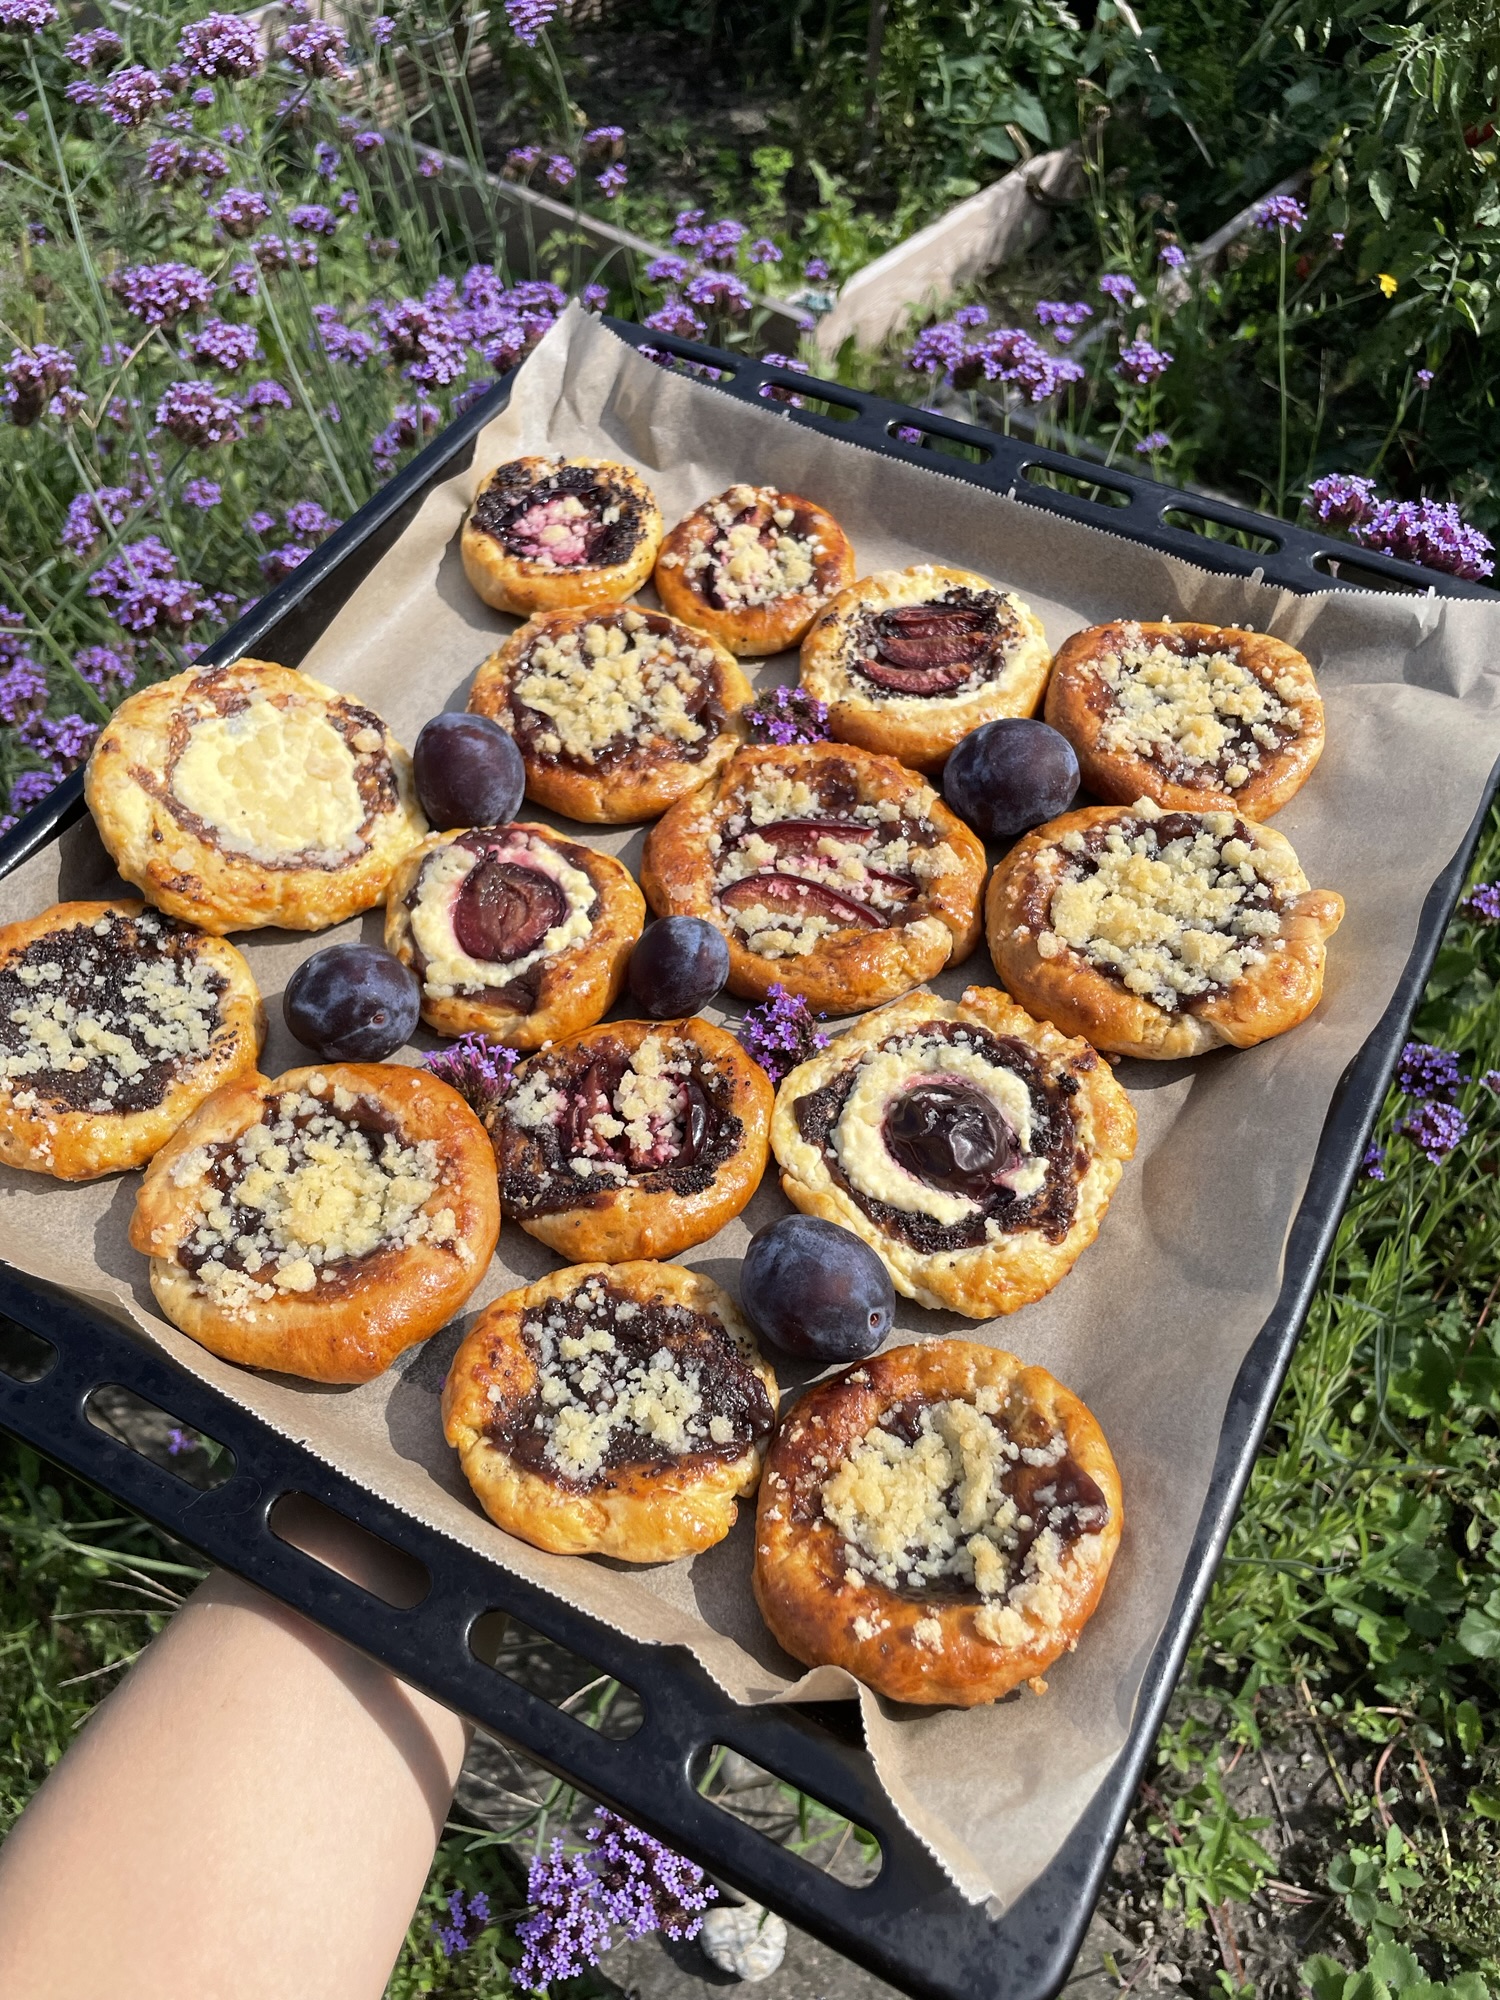
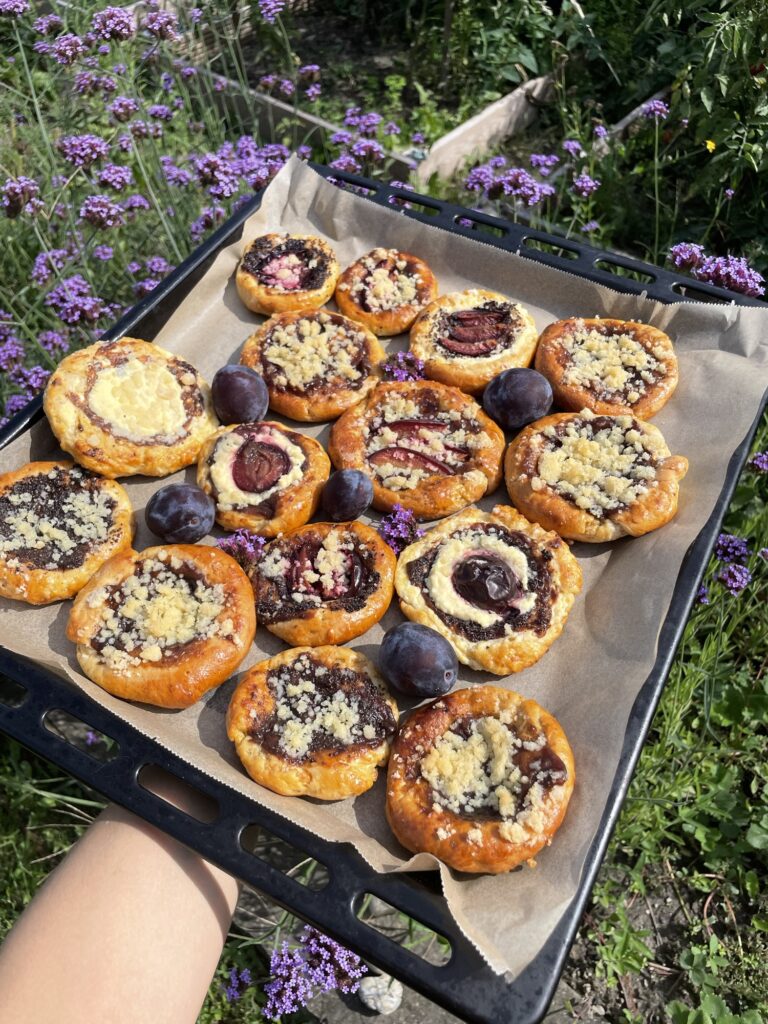
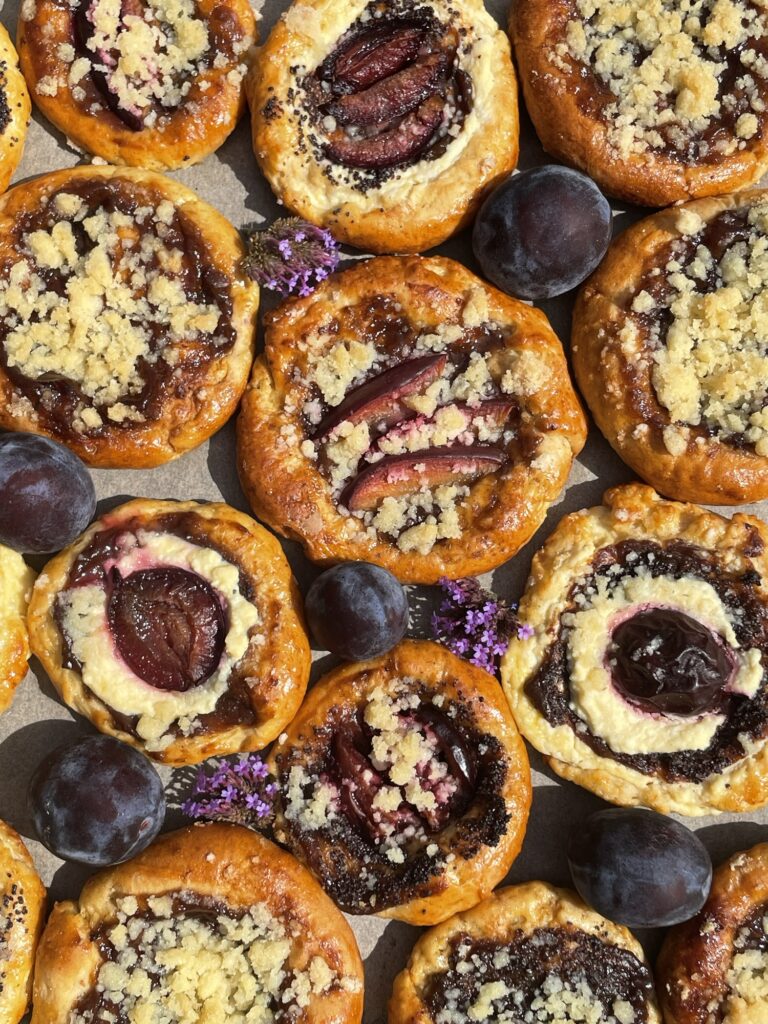
Moravské koláče (Moravian kolaches) are traditional, semi-sweet yeast pastry rounds originating from Moravia, a historic region in the eastern Czech Republic. Dating back more than 200 years, these pastries have evolved from a highly revered ceremonial bread used to celebrate weddings and holy days into an iconic staple of Central European baking and global immigrant history.
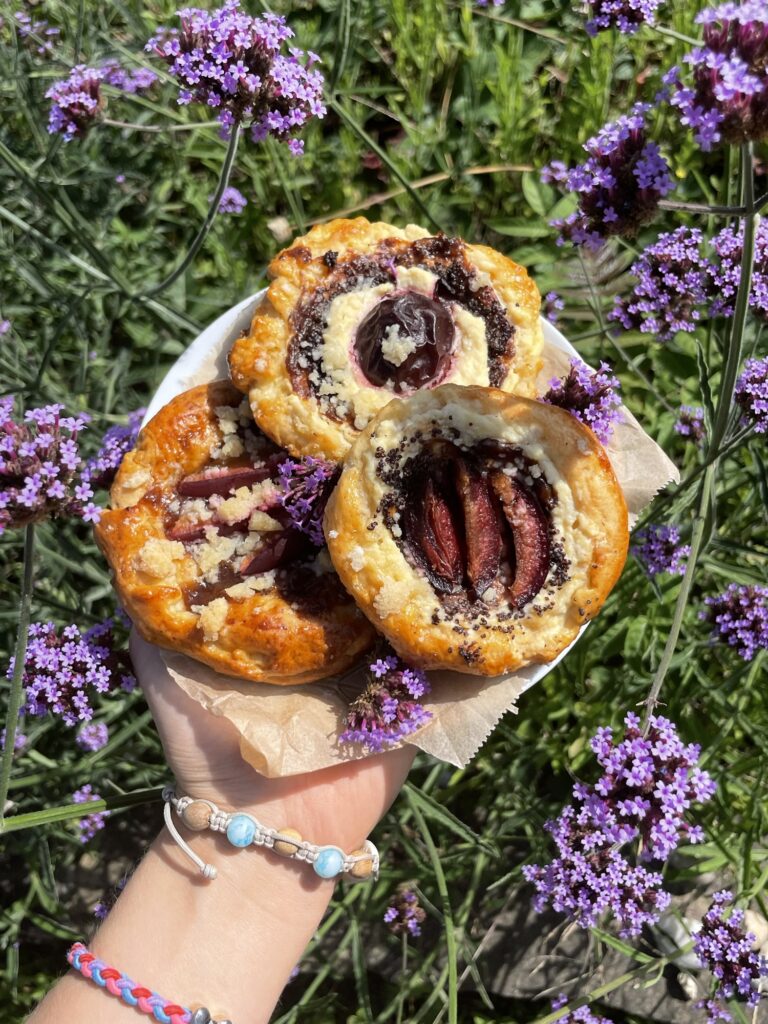
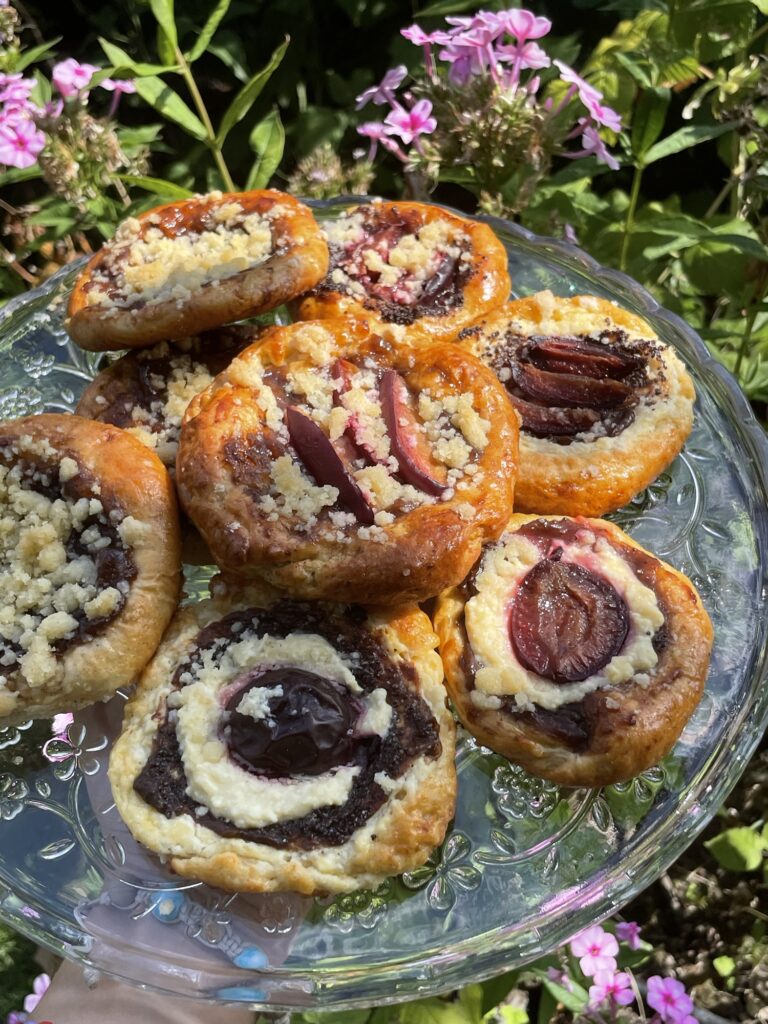
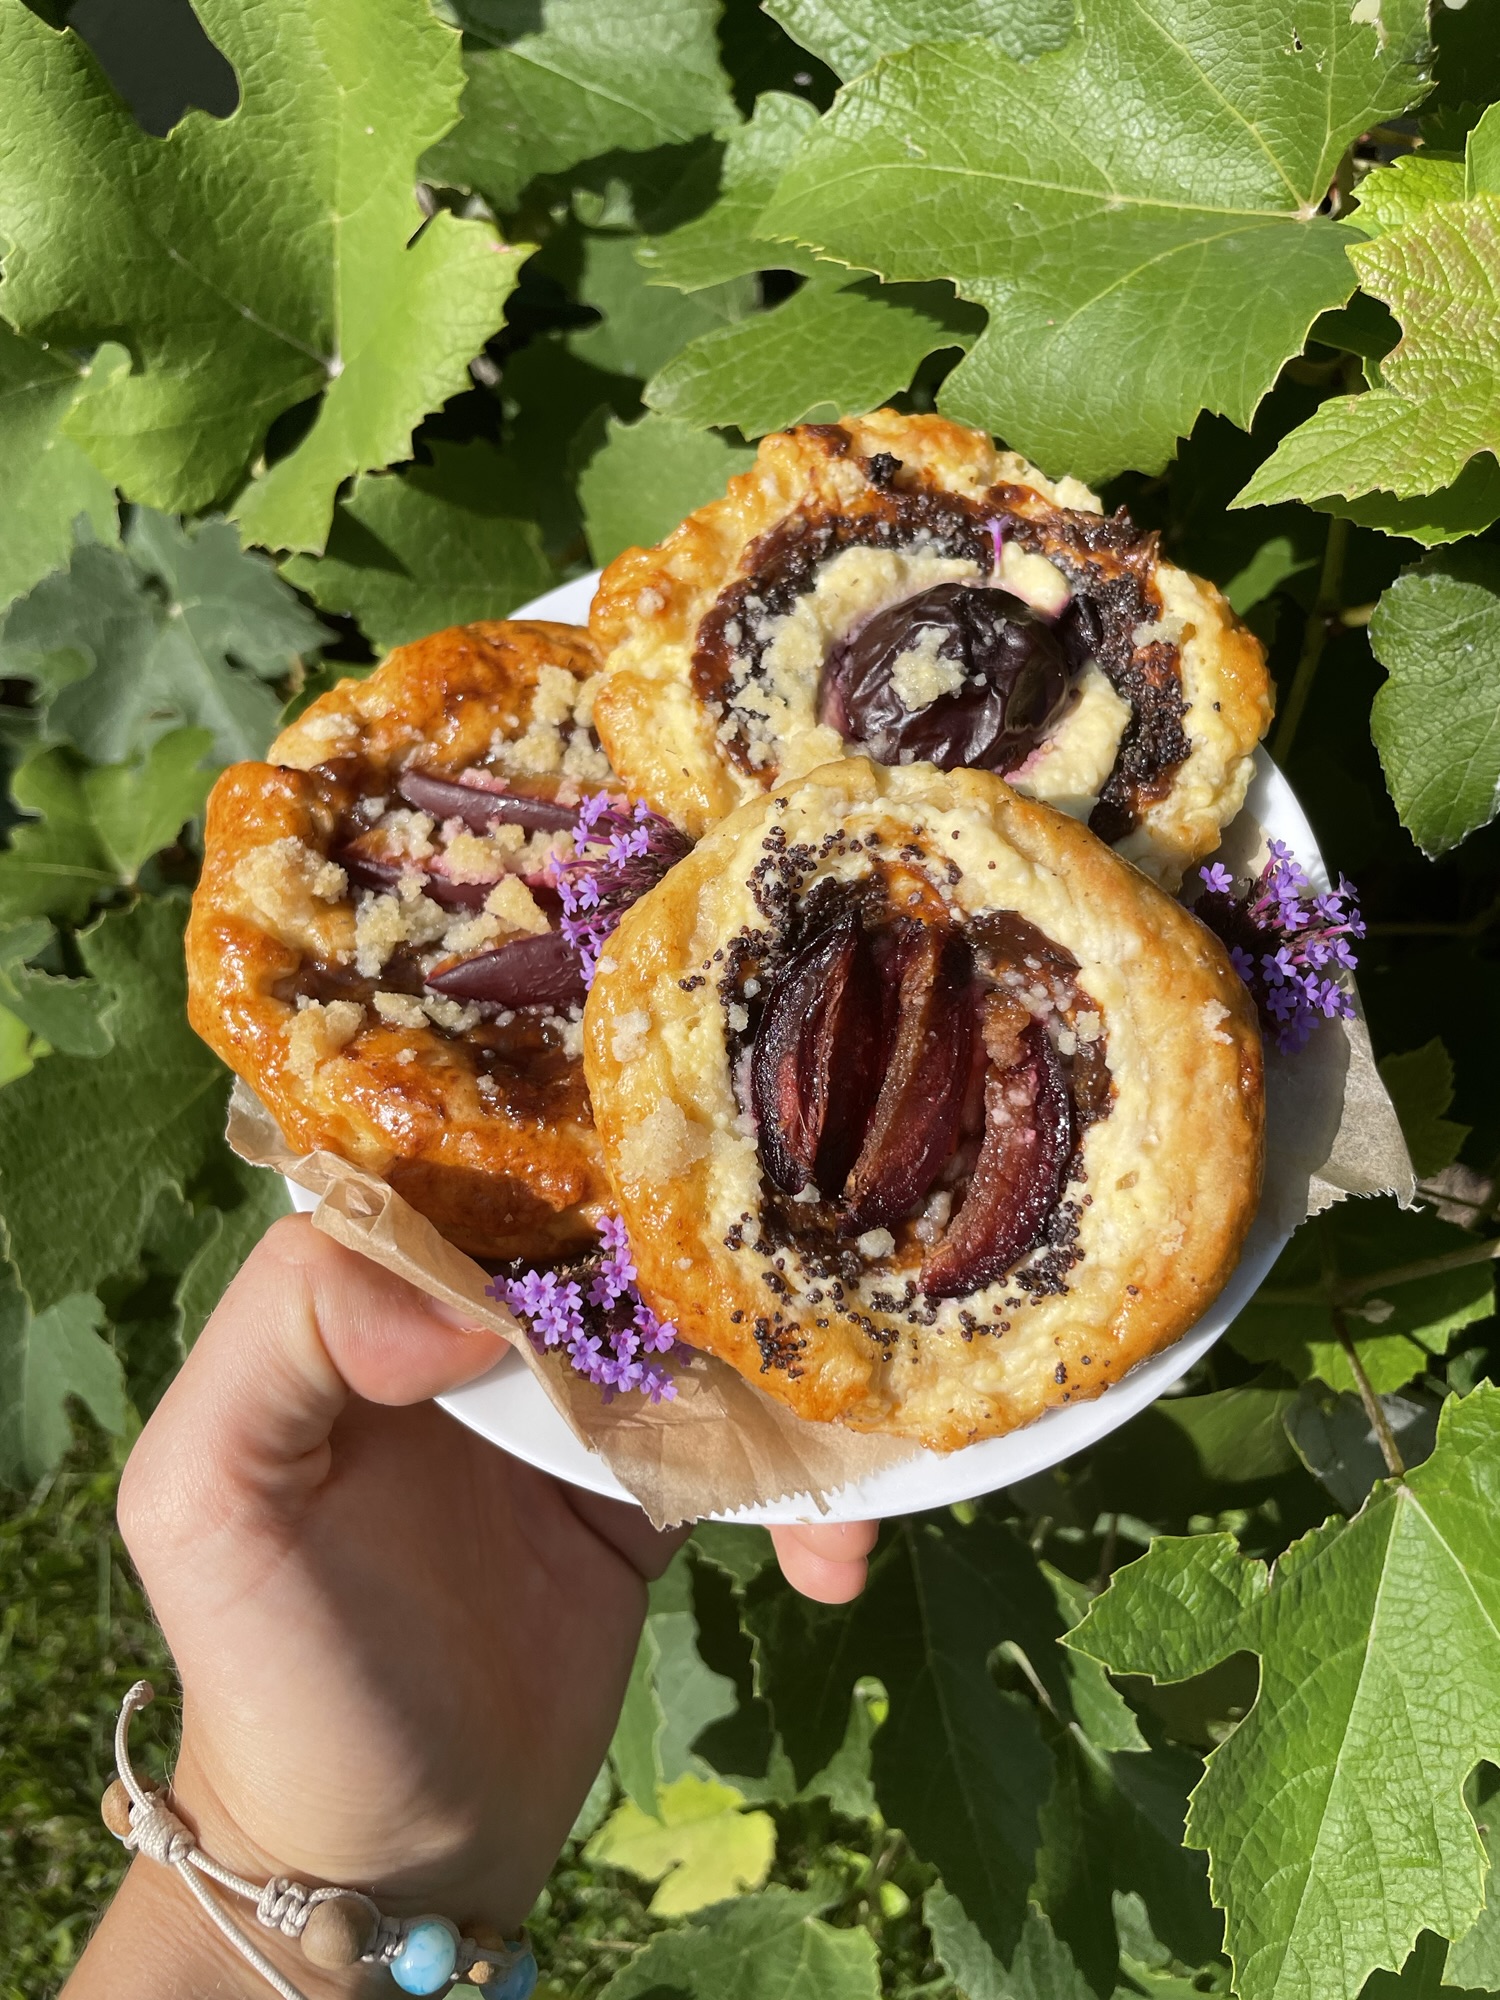
The name itself comes from the Old Slavonic word kolo, meaning “circle” or “wheel” — a fitting origin, since traditional koláče are round, filled with a portion of fruit or cheese surrounded by soft, puffy yeast dough. Common fillings include apricots, cream cheese or tvaroh, poppy seeds, and plums, with regional variations across the Czech lands in size, shape, and decoration technique.
Why the Starter Step Matters
Activating the yeast separately before mixing it into the full dough isn’t just an extra step for the sake of it — it lets you confirm the yeast is actually alive and working before you commit the rest of your ingredients to it.
If the starter doesn’t get foamy or active after resting, that’s a useful early warning sign that your yeast may be old or your milk was too hot, saving you from ending up with a dense, unrisen dough much later in the process.
The Role of Curd Cheese in the Filling
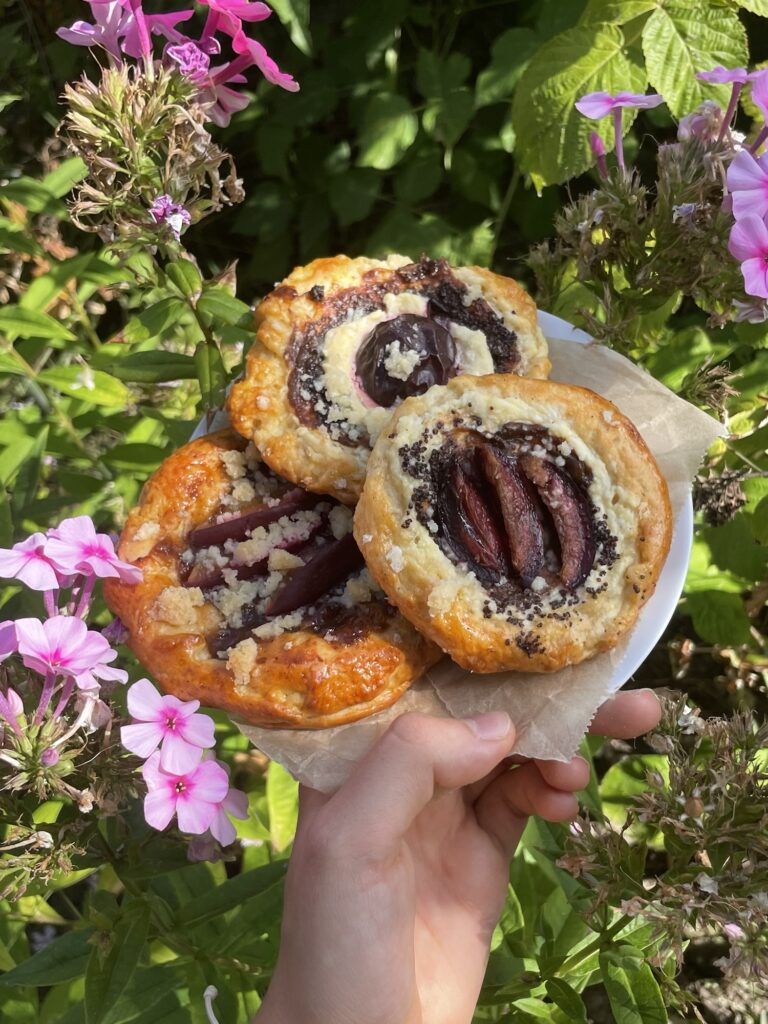
Curd cheese (tvaroh) gives this filling its slightly tangy, rich character, very different from a sweeter cream cheese filling you might find in other pastries. It’s a filling that’s satisfying without being overly sweet, letting the fruit topping bring most of the sweetness instead.
Using good quality curd cheese — ideally the kind sold wrapped in foil rather than in a tub — makes a real difference here, since it holds its shape better and doesn’t add excess moisture that could make the filling too wet.
A Recipe Worth the Extra Time
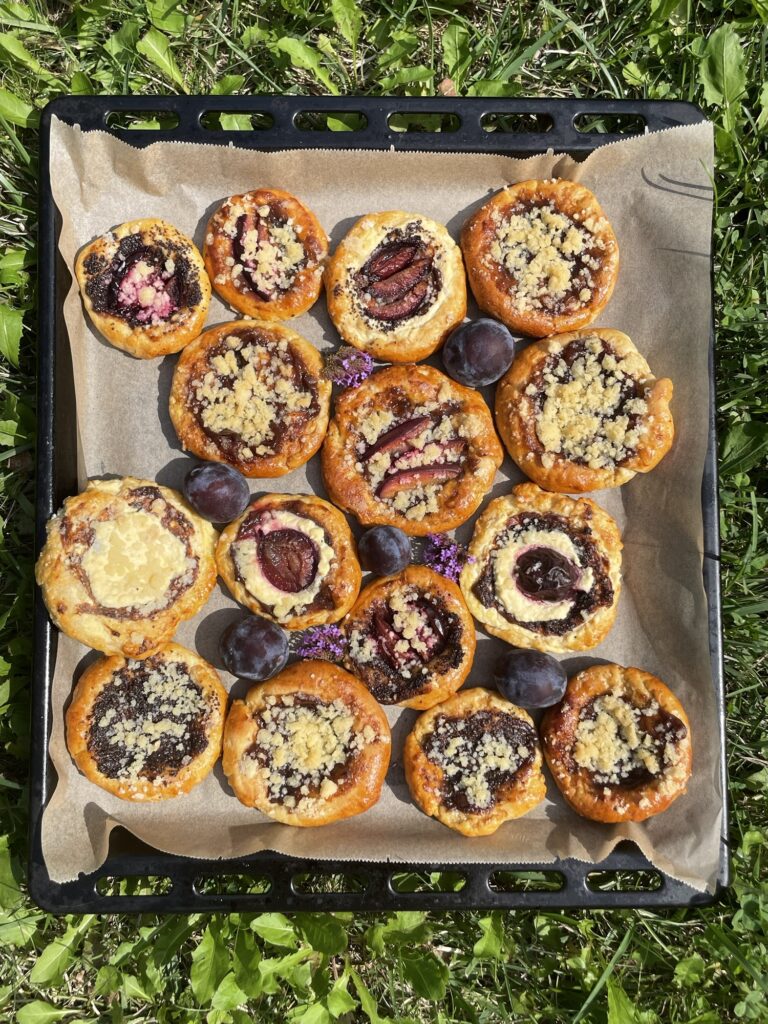
Between the two rises, the filling prep, and the shaping, this isn’t a quick, thrown-together recipe — but that’s part of what makes it feel special. It’s the kind of baking project that rewards patience rather than rushing through it.
That said, most of the actual “waiting” time is hands-off — you’re not standing over the dough the whole time, just checking in between rises, which makes it more manageable than it might initially seem.
Making the Filling and Jam Work Together
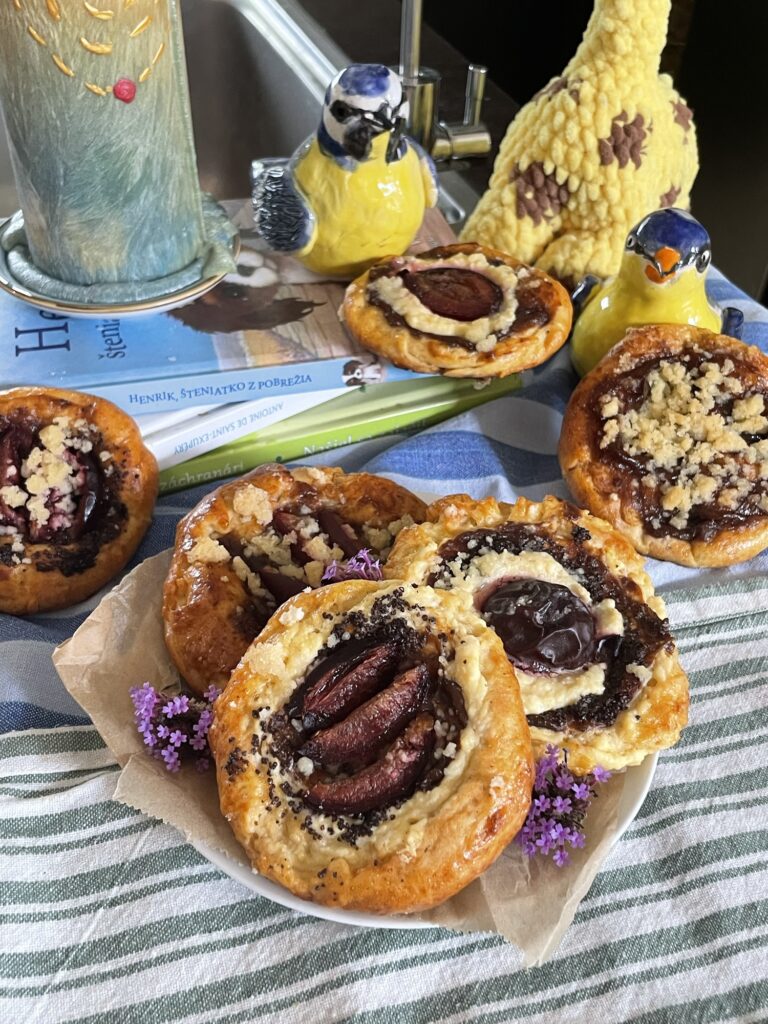
Pairing the curd cheese filling with a well of jam in the center creates two distinct flavor notes in one pastry — creamy and tangy from the cheese, fruity and sweet from the jam — rather than one dominant flavor throughout.
Using a thicker jam specifically (rather than a runny one) keeps that fruit filling contained in its little well instead of spreading out and making the dough soggy during baking.
Getting the Dough Texture Right
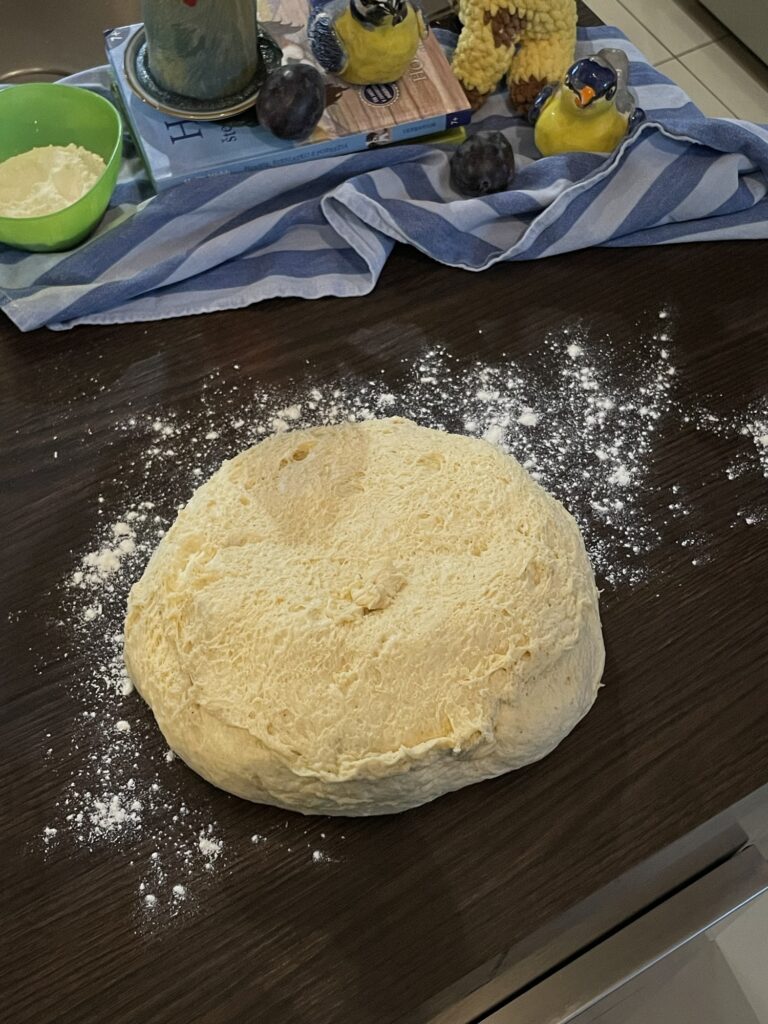
Yeast dough can feel intimidating if you haven’t worked with it much, but the visual and touch cues in this recipe make it fairly forgiving — the dough should look shaggy and stringy before the butter goes in, then transform into something smooth and elastic once fully kneaded.
That transformation is genuinely satisfying to watch happen, and once you’ve made this dough once, you’ll start recognizing that same texture shift in other yeast-based recipes too 😉
Frequently Asked Questions
Yes, though the amount will differ — as a general guide, you’d use roughly a third of the weight in active dry yeast compared to fresh yeast.
No problem — use regular granulated sugar instead and add a small splash of vanilla extract or bourbon vanilla to make up for the flavor.
This usually happens from over-proofing (letting the second rise go too long) or a big temperature shock between a cooler kitchen and a hot oven. Try shortening the second rise slightly and make sure your oven is fully preheated before baking.
⚠️ Before you start, check the Notes section at the bottom — there are a few tips that’ll save you some trouble! I also recommend using a kitchen scale for the most accurate results.
What you need 🛒
- Yeast Dough
- 300ml warm milk
- 1 packet vanilla sugar (20g)
- 3/4 cube fresh yeast (~32g)
- 500g all-purpose flour, sifted
- 2 ½ tbsp granulated sugar
- 2 egg yolks
- 100g softened butter
- Pinch of salt
- Curd Cheese Filling
- 360g curd cheese/quark (1 ½ packages)
- 3 packets vanilla sugar (60g)
- 3 egg yolks
- 1 tsp lemon zest
- Crumble Topping
- 50g granulated sugar
- 80g flour (fine semolina flour or all-purpose)
- 50g cold butter
- Additionally
- Plum jam (~1 tsp per pastry)
- Fresh plums (optional)
- 1 egg, for egg wash
⚠️ Don’t forget to check the Notes section at the bottom before you get started!

Traditional Moravské Koláče💜
Ingredients
Method
- Starter: In a medium bowl, stir the warm milk (see notes) (200ml), vanilla sugar, and yeast together until the yeast fully dissolves. Add 1 tbsp of the flour and mix well. Cover and set aside for 10 minutes to activate.
- Dough: In a large bowl, combine the sifted flour, sugar, egg yolks, and salt. Pour in the starter and the remaining 100ml of warm milk. Add the butter halfway through mixing (see notes), then mix with a mixer with a dough hook until smooth (see notes).
- First rise: Cover and let rise in a warm spot for 35-45 minutes.
- Filling: While the dough rises, mix together the curd cheese, sugar, egg yolks, and lemon zest.
- Crumble topping: Combine the cold butter, flour, and sugar with your hands until crumbly.
- Cut out rounds: Roll out the risen dough to about 0.5cm thick and cut into 8-10cm rounds (glass cup works fine too).
- Fill: Add 1/2-1 tsp of the curd filling onto each round and fold up into balls (see the video below). Transfer to lined baking trays.
- Make the well and add jam: With your fingers, press a well into the center of each pastry (see notes), fill with plum jam and sliced plums (if using). Brush the edges with beaten egg and sprinkle with the crumble topping.
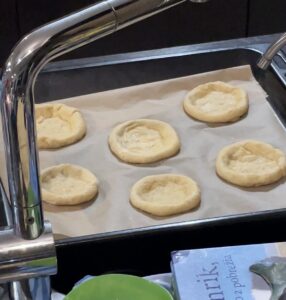
- Second rise: Let rise again on the tray for 1-2 minutes.
- Bake: Bake at 180°C / 350℉ for 20-25 minutes. When finished, they should have a nice light golden color around the edges. Enjoy 😉
Video
Notes