Why choose to bake this cheesecake?
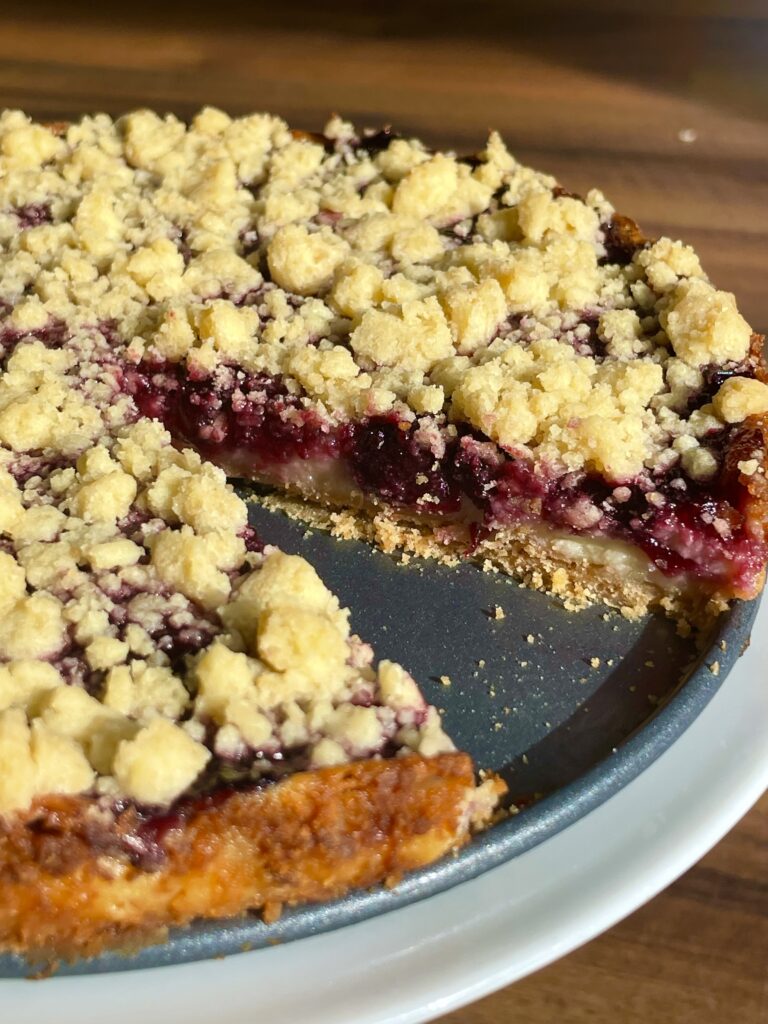
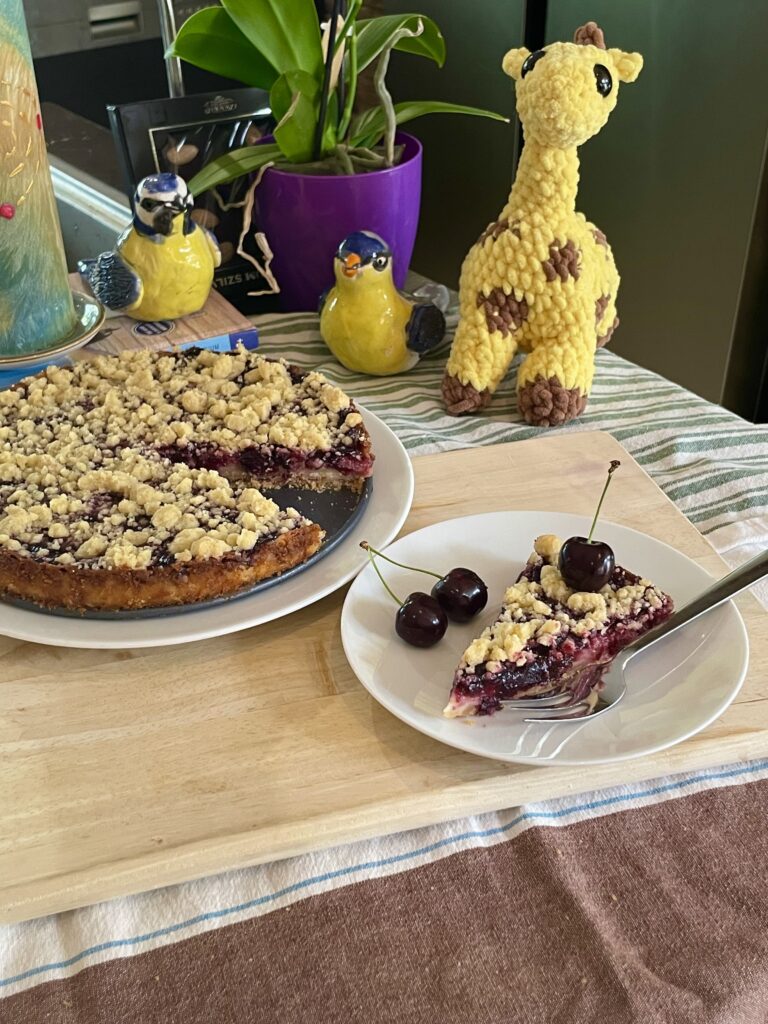
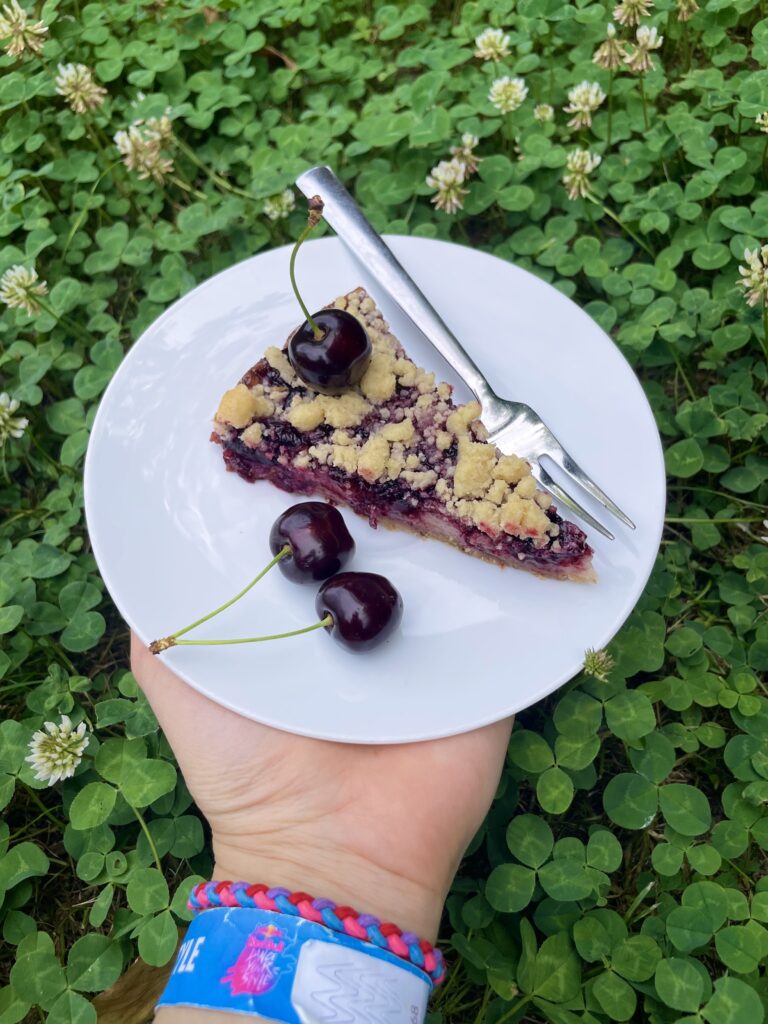
This Cherry Cheesecake is an absolute masterclass in flavor balancing. Combining the deep, intense tartness of the homemade cherry jam with the rich, velvety creaminess of the cheesecake layer prevents the dessert from feeling overly heavy or cloyingly sweet.
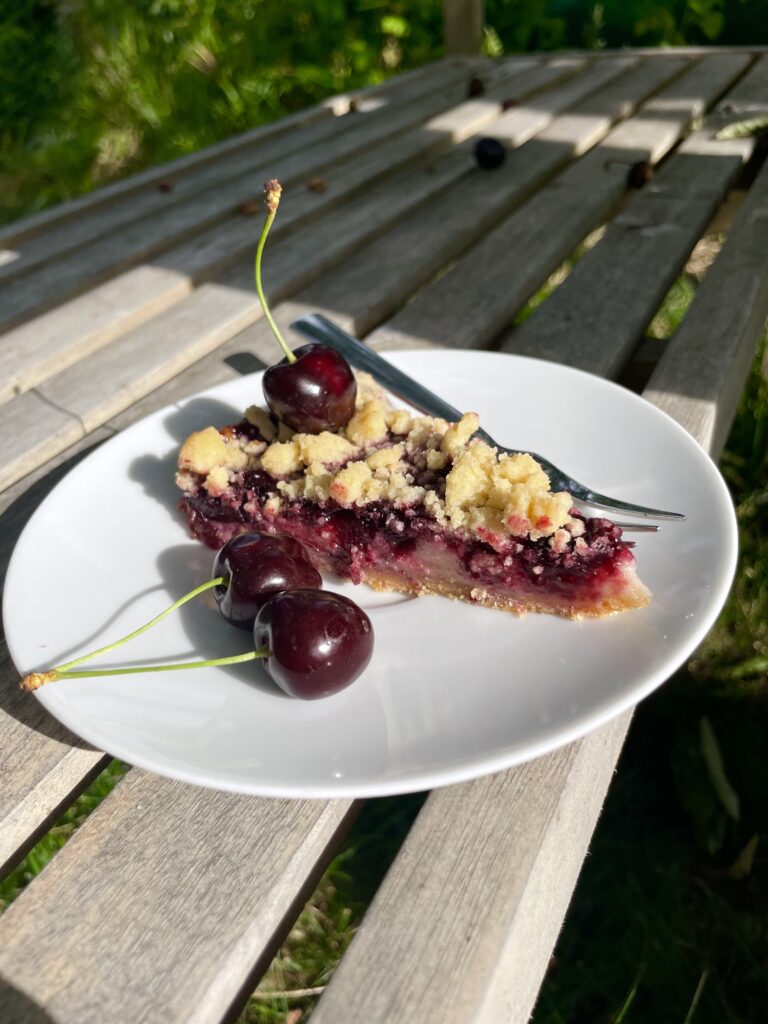
The buttery biscuit crust provides a stable, grounding element that carries the luscious fillings cleanly. You will completely skip the heavy, coma-inducing sugar overload of traditional cakes and enjoy a sophisticated, high-quality pastry shop experience right at home! Plus it’s incredibly easy to make.
Variety for Every Season
The best thing about this Cherry Cheesecake is how easily you can adapt it to match whatever fresh or frozen fruit is currently in your kitchen. You can swap the quick cherry jam for a bright summer strawberry jam, a spiced autumn apple filling, or even a zesty winter cranberry swirl! If you run out of standard biscuits for the base, a quick batch of crushed Lotus Biscoff cookies or traditional gingerbread crumbs works spectacularly to create a whole new flavor profile. There are completely zero rules 😉
The Ultimate Stress-Free Cheesecake 😉
From a technique perspective, this cheesecake is the absolute ultimate shortcut to classic pastry-chef results without any of the traditional stress.
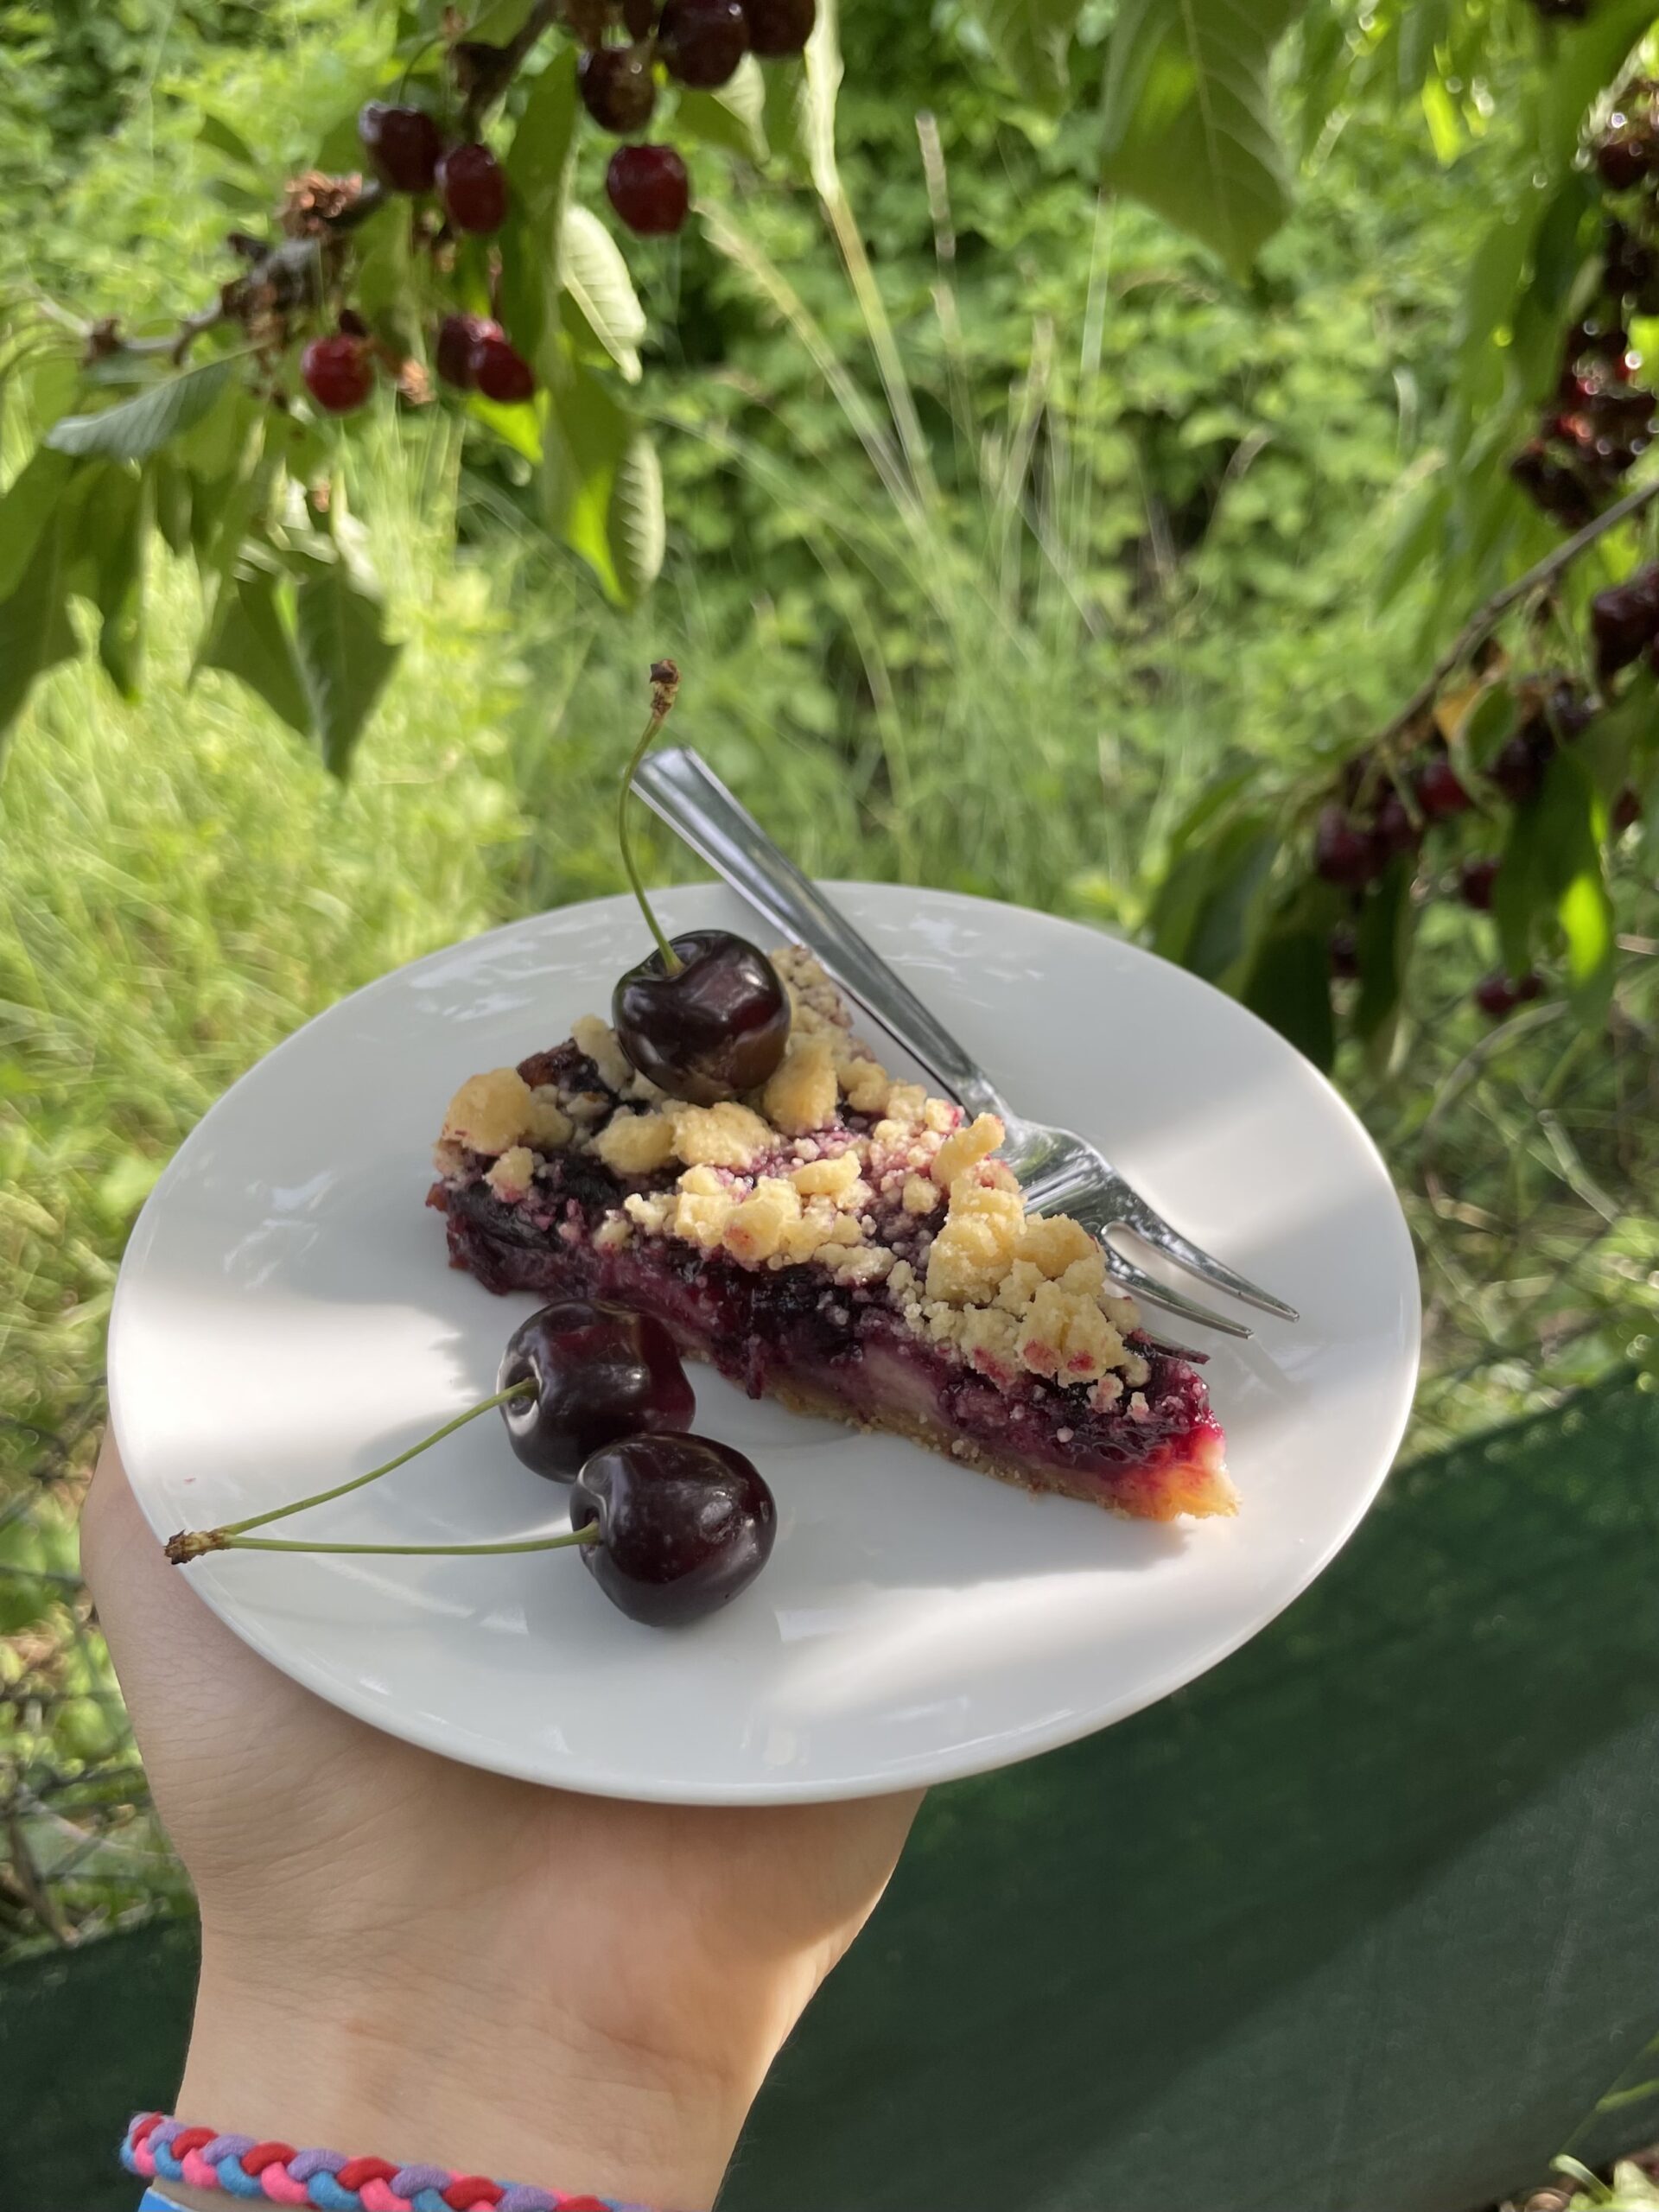
Skipping the dreaded, high-maintenance water bath completely removes the risk of a soggy crust or a cracked, dry top. Instead, baking the cream cheese filling directly over a pre-pressed biscuit base ensures a fast, reliable set that locks in a creamy velvety texture.
If you love simple baking hacks that look incredibly fancy, check out my Prosciutto & Cranberry Puff Pastry Twists🧀 or my 5-Minute Chocolate Bark 🍫
What you need 🛒
- The crust
- 160g biscuits, crushed
- 80g butter, melted
- The cheesecake layer
- 500g cream cheese
- 140g sugar
- 2 eggs
- 1 tbsp cornstarch
- 80g heavy cream
- 1 tsp vanilla extract
- A pinch of salt
- The jam
- 450g – 500g cherries, pitted
- 60g sugar
- 1 tsp lemon juice
- The Crunchy Crumble
- 100g flour
- 65g brown sugar
- 65g cold butter, cubed
Ingredients
Method
- Preheat your oven to 180° / 350F
- Jam: Simmer your cherries, sugar, and lemon juice in a saucepan for 10–15 minutes until thick, then set it aside to cool.
- The crust: Mix together your crushed biscuits and melted butter, then press the mixture firmly into the bottom of a lined baking pan. (I did a cake form but you can use a baking pan)
- The cream: Whisk together your cream cheese and sugar until the crystals dissolve. Mix in the vanilla, eggs, and a pinch of salt until smooth, then whisk in your cornstarch and stir in the heavy cream. (It shouldn’t be too thick)
- Pour the cheesecake mixture over your biscuit base and bake at 180°C for 35–40 minutes.
- The Crumble: While that bakes, rub together your flour, brown sugar, and cold cubed butter with your fingers to form a crumble.
- Take the cake out of the oven. It’s totally okay that it’s still jiggly! Spoon on the Jam then evenly sprinkle on the crumble and bake for another 20-25 minutes.
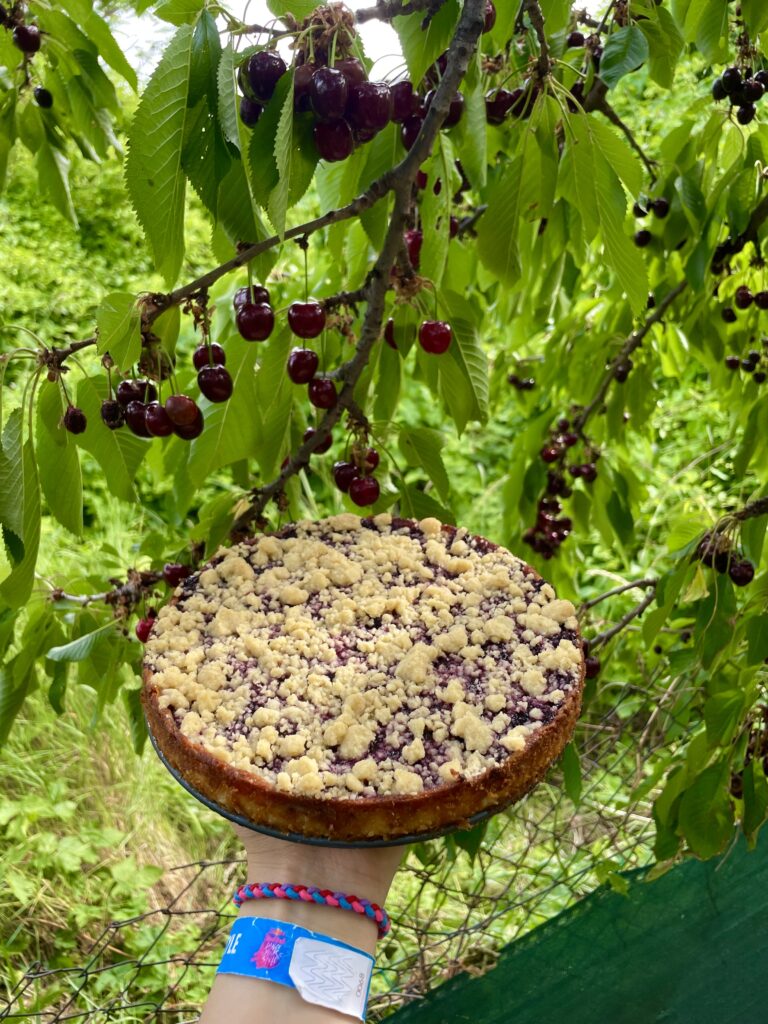
- When it’s done the top should have a lightly golden color. The center should be a little jiggly but the sides should be nice and firm and have a golden tone.
- Let the cake chill for 20 minutes and cut the edges from the form so the cheesecake doesn’t form crinkles. Then wait about 1h 30 minutes until it reaches room temperature and transfer it to the fridge and let it chill for ~3-4 hours (preferably overnight) and enjoy 😉
[…] Raffaello tiramisu, be sure to check out my Original Tiramisu☕, No-Bake Biscuit Delight 🍰or Cherry Cheesecake🍒 […]