

Themes That Might Interest You⬇️
- The Secret to Soft, Pillowy Rolls: The Cream Pour Trick
- Getting Yeast Right
- The Floss Trick: A Baker’s Best-Kept Secret
- Greek Yogurt’s Quiet Role in the Dough
- Why Room-Temperature Ingredients Matter
- Make-Ahead & Storage Tips
- FAQ
The Secret to Soft, Pillowy Rolls: The Cream Pour Trick
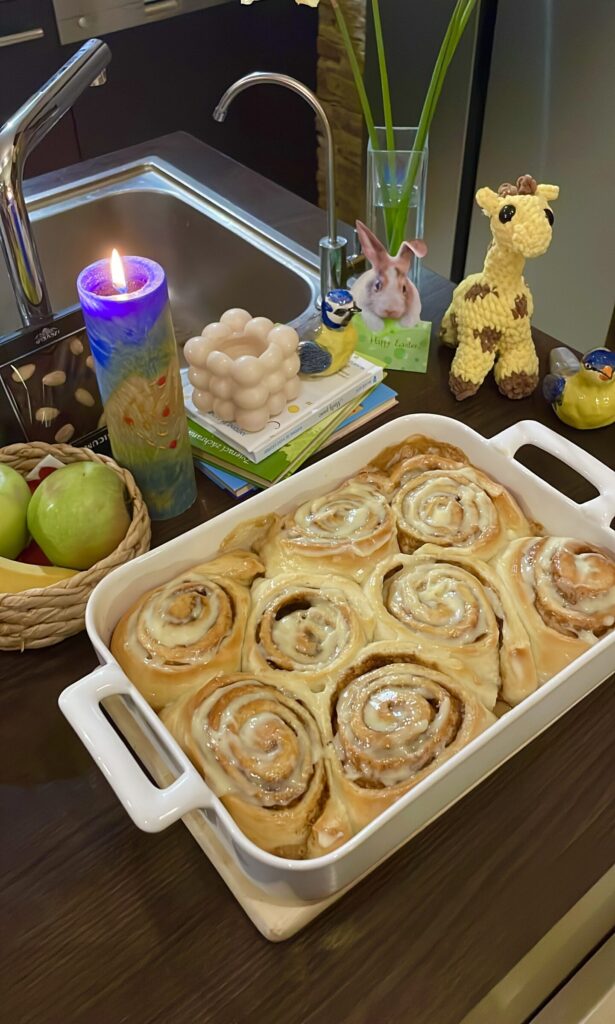
Pouring warm heavy cream over the rolls right before they go into the oven might sound unusual, but it’s one of the biggest reasons these turn out so soft. As the rolls bake, they soak up that cream, which keeps the dough incredibly moist and tender instead of drying out around the edges.
It’s a classic bakery trick for a reason — it essentially bastes the rolls from the outside in, so even the tops and edges (which usually bake up drier than the center) stay soft and pillowy. Skip it and you’ll still get good rolls, but this step is what pushes them into “bakery-quality” territory.
Getting Yeast Right
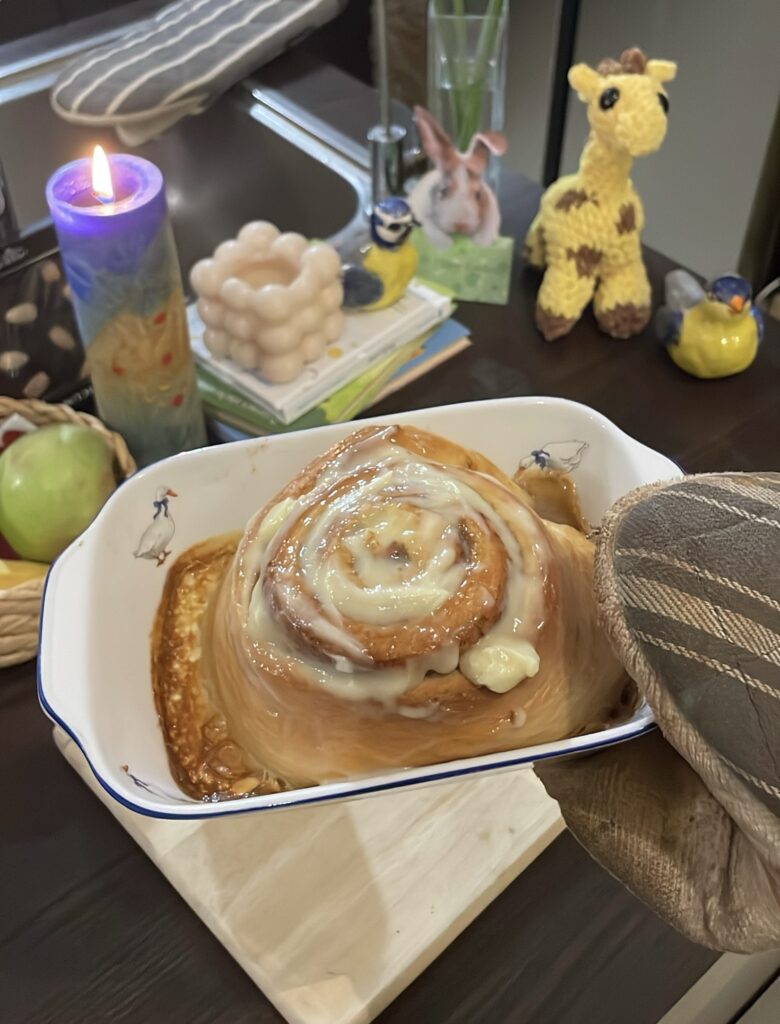
That first step — sprinkling yeast over warm milk and sugar and just waiting — isn’t a step you can rush or skip. It’s actually a built-in test: if the mixture gets frothy and bubbly, your yeast is alive and active, and your rolls are going to rise properly.
If nothing happens after 5-7 minutes, that’s your sign the yeast is dead (usually from milk that was too hot) or expired, and it’s much better to find that out now than after you’ve mixed a whole batch of dough that never rises. A little patience here saves a lot of frustration later.
The Floss Trick: A Baker’s Best-Kept Secret
Using unflavored dental floss instead of a knife to cut the rolled dough log is a small trick that makes a real visual difference. A knife tends to press down and squish the spiral shape as it cuts, flattening the swirl you worked so hard to create.
Floss (or plain sewing thread) slides cleanly under the log and cuts straight through with a quick pull, keeping that spiral perfectly intact. It’s such a simple swap, but it’s the difference between rolls that look bakery-perfect and ones that look a little squashed.
Greek Yogurt’s Quiet Role in the Dough
Greek yogurt (or sour cream) doesn’t announce itself in the finished rolls, but it’s doing important work in the dough. It adds moisture and a gentle tang that balances out the sweetness of the filling and frosting, while also helping keep the dough soft rather than dense.
It’s a similar principle to using yogurt in cakes — the acidity also gently interacts with the dough, helping create a more tender crumb in the finished rolls. It’s a small ingredient with an outsized impact on texture.
Why Room-Temperature Ingredients Matter
You’ll notice almost everything here calls for room temperature — the eggs, the yogurt, the butter for the filling and frosting. That’s not just a suggestion; cold ingredients straight from the fridge don’t incorporate evenly and can actually slow down or shock the yeast in the dough.
For the frosting and filling specifically, room-temperature butter and cream cheese blend into a smooth, lump-free mixture, while cold versions tend to leave little unmixed chunks no matter how long you beat them. A few minutes of patience letting things sit out pays off in the final texture.
Make-Ahead & Storage Tips
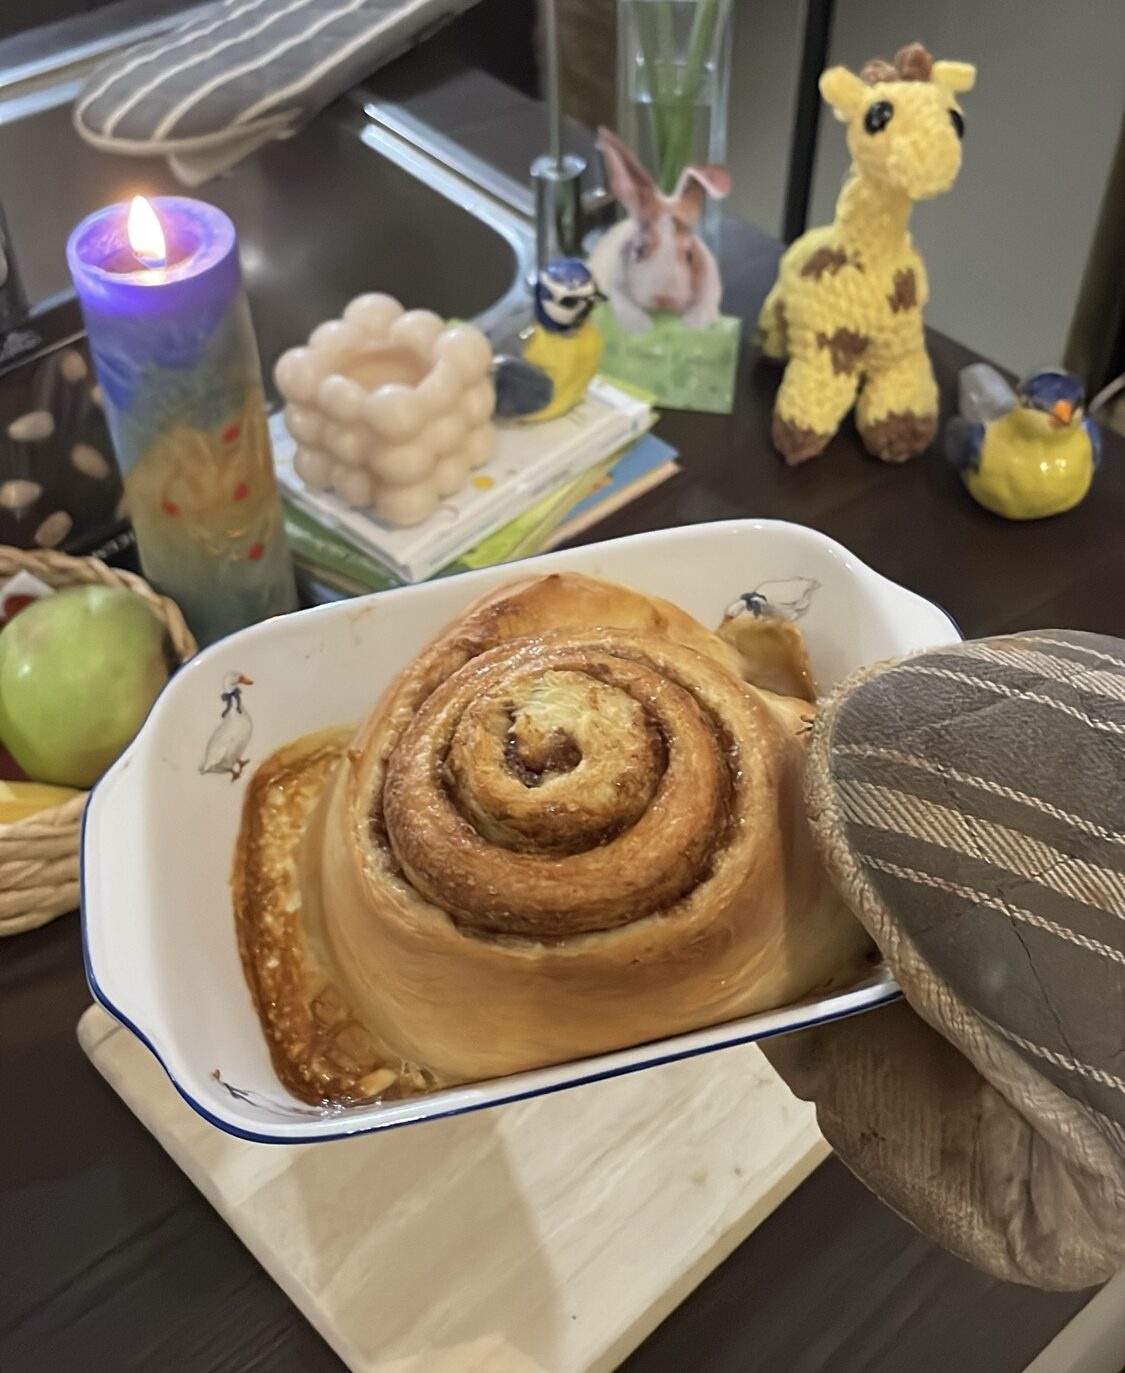
Because this recipe has quite a few components and a couple hours of rise time built in, it’s worth knowing your rolls will keep well once baked and frosted — store them in an air-tight container at room temperature for a day or two, or in the fridge for closer to a week, and they reheat beautifully with a quick 10-15 seconds in the microwave.
FAQ
Yes, the recipe already accounts for this as an option — bread flour gives a slightly chewier, more structured roll thanks to its higher protein content, but all-purpose will still give you great results.
You can absolutely knead by hand — it’ll just take a lot longer, about 10-15 minutes on a floured surface until the dough turns smooth and elastic, as the recipe notes.
Yes, the recipe already gives you that swap — use 27g of fresh yeast in place of the active dry yeast, crumbled into the warm milk the same way.
What you need 🛒
- For the Dough
- 180ml warm milk (~43°C)
- 110g granulated sugar (2 tbsp divided)
- 7g active dry yeast (or 27g fresh yeast)
- 120g Greek yogurt or sour cream, room temperature
- 113g butter, very softened, room temperature
- 2 eggs, room temperature
- 1 tsp vanilla extract
- 570g bread flour (or all-purpose flour)
- 1 tsp salt
- 120ml heavy cream (for pouring over the rolls before baking)
- Cinnamon Filling
- 113g softened butter, room temperature
- 240g light brown sugar
- 2 tbsp cinnamon
- 1 tsp vanilla extract
- Cream Cheese Frosting
- 120g cream cheese or mascarpone
- 45g softened butter, room temperature
- 80g powdered sugar
- 1 tsp vanilla extract
Cinnamon rolls
Ingredients
Method
- Activate the Yeast: Pour the warm milk into a small bowl. Add 1 tbsp of the sugar and sprinkle the yeast on top. Stir and let it sit for 5–7 minutes until it looks frothy and bubbly.
- Mix the Dough: In a separate bowl, whisk the flour and salt. To the yeast mixture add the rest of the sugar, Greek yogurt, butter, eggs, vanilla and the flour mixture. Mix on low with a dough hook attachment for about 1 minute until just combined. Rest for 5 minutes.
- Knead: Knead it by mixer for 5–7 minutes (if kneading with hands, put it on a floured surface and knead it for approx. 10-15 minutes) or until it’s smooth, elastic, and pulls away from the bowl. If it’s too sticky, add 1 tbsp of flour at a time (I only needed 1 extra tbsp, but feel free to add up to 3 if your dough is still sticking to the sides of the bowl). But we still want the dough to be a little bit sticky (be careful not to add to much).
- First Rise: Place the dough in a lightly greased bowl (i used butter). Cover and let it rise in a warm spot for 30–45 minutes (for ex. in a turned off oven). It doesn't need to double in size, as we will let the rolls rise one more time later on.
- Prep the Filling: While the dough rises, mix the softened butter, brown sugar, cinnamon, and vanilla in a small bowl until smooth. Grease a 9×13” baking pan with butter (or any you have on hand but the bigger the better).
- Shape the Rolls: Turn the dough out onto a floured surface and roll it into a large rectangle (mine was approx. 40x56cm). Spread the cinnamon filling evenly all the way to the edges, leaving just a tiny border (only a couple millimeters).
- Cut & Proof: Roll the dough tightly into a log. Cut it into 11 equal rolls (about 2 inches wide), or feel free to adjust—you can make 10 larger rolls or even 15 smaller ones, just keep in mind that the baking time will change slightly. Place them in the prepared pan, cover, and let them proof for 25–30 minutes until they look puffy.
- The Frosting: While the rolls are proofing, whisk together the mascarpone, powdered sugar, vanilla, and butter until smooth. Set it aside so it's ready to be spread over the warm rolls later!
- The Secret Cream Pour: Preheat your oven to 175°C. Warm the heavy cream in the microwave for 15 seconds and pour it all over the rolls right before they go into the oven (i did 1 tbsp for each and split the rest evenly).
- The Two-Step Bake: Bake at 175°C for 20–22 minutes. Then, turn the heat up to 190°C and bake for another 5–7 minutes until the tops are golden brown. (If you made more than just keep an eye on them :).
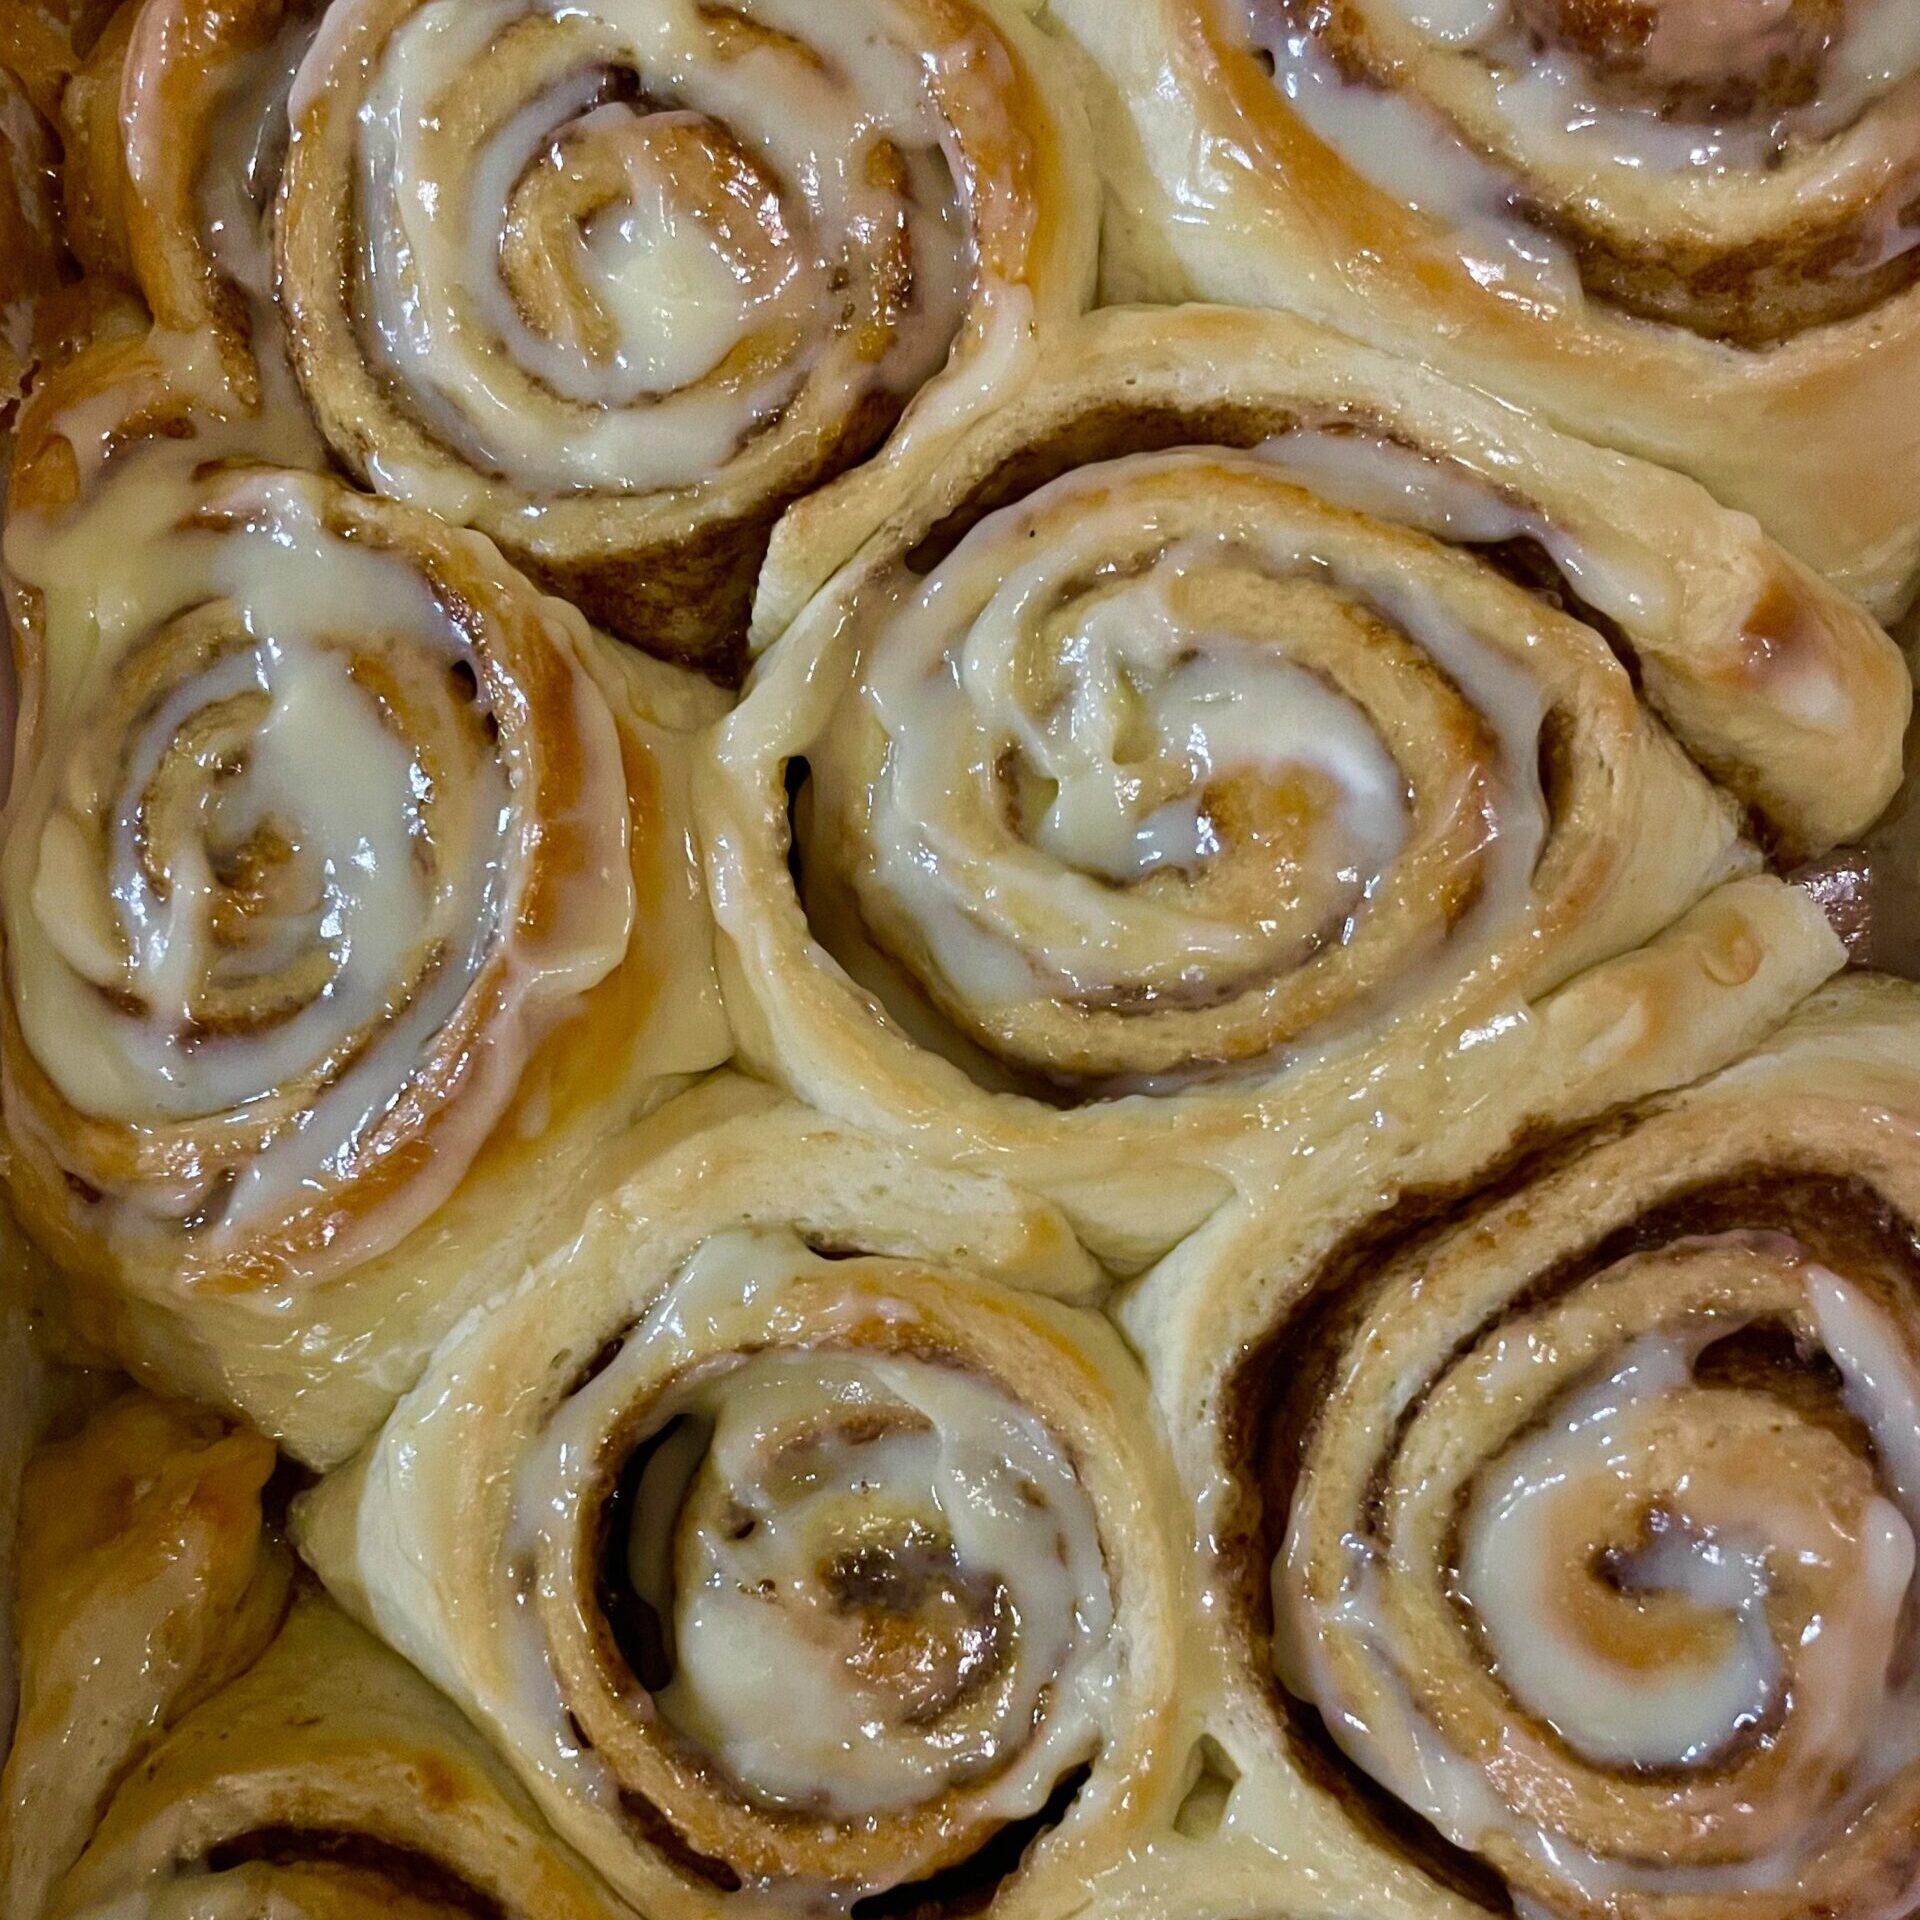
- The Best Part: Spread your prepared frosting over the rolls while they are still slightly warm and enjoy ;).
Notes
STRING TRICK FOR CUTTING THE ROLLS: