
A Simple Recipe With Just Four Ingredients
There’s something satisfying about how few ingredients this actually takes — sugar, butter, salt and cream, nothing else. It’s proof that a really good homemade caramel doesn’t need a long ingredient list, just the right technique.
That simplicity also makes it an easy recipe to keep in your back pocket — no special equipment, no hard-to-find ingredients, just a pan and a bit of patience.
Themes That Might Interest You⬇️
- A Simple Recipe With Just Four Ingredients
- Why Dry-Melting the Sugar Matters
- Why Room Temperature Ingredients Make a Difference
- Why the Bubbling Is Normal, Not a Mistake
- Why It Thickens as It Cools
- So Many Ways to Use It
- Frequently Asked Questions
Why Dry-Melting the Sugar Matters
Melting the sugar on its own, without any water or stirring aids, is what gives this caramel its deep, rich flavor instead of a flat, one-note sweetness. It takes patience — the sugar will clump up before it fully melts — but that slow transformation is exactly what builds the caramelized flavor you’re after.
Rushing this step by cranking up the heat usually backfires, leading to burnt spots before the rest of the sugar has even melted. Staying patient at a moderate heat gives you a much more even, controlled melt.
Why Room Temperature Ingredients Make a Difference
Using room temperature butter and cream instead of cold, straight-from-the-fridge versions helps everything combine more smoothly once it hits the hot sugar. Cold ingredients hitting molten sugar can cause the temperature to drop too fast, seizing up the mixture instead of blending in.
It’s a small prep step, but it saves you from fighting with a clumpy, separated caramel later on — a little planning ahead makes the actual cooking process go a lot more smoothly.
Why the Bubbling Is Normal, Not a Mistake
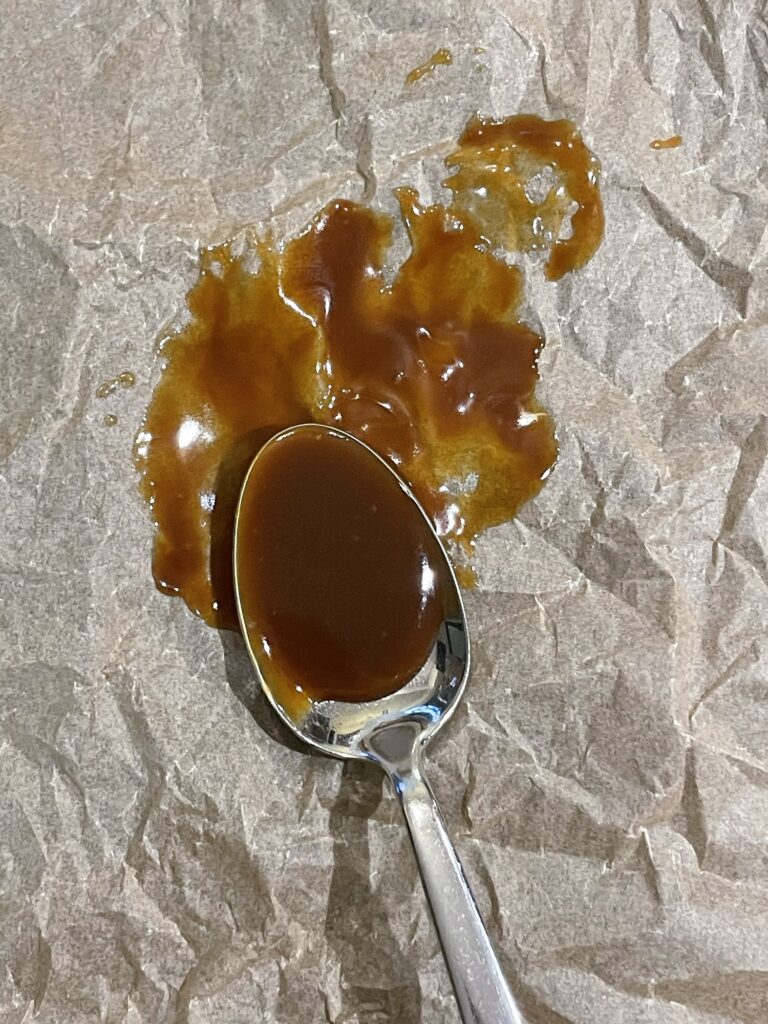
Both when you add the butter and when you add the cream, the mixture bubbles up dramatically — and that can feel alarming the first time you make caramel, but it’s completely expected. It’s just the moisture reacting with the hot sugar.
Knowing this ahead of time makes the process a lot less stressful — instead of panicking and pulling the pan off too early, you can keep mixing through it, which is exactly what helps everything come together smoothly.
Why It Thickens as It Cools
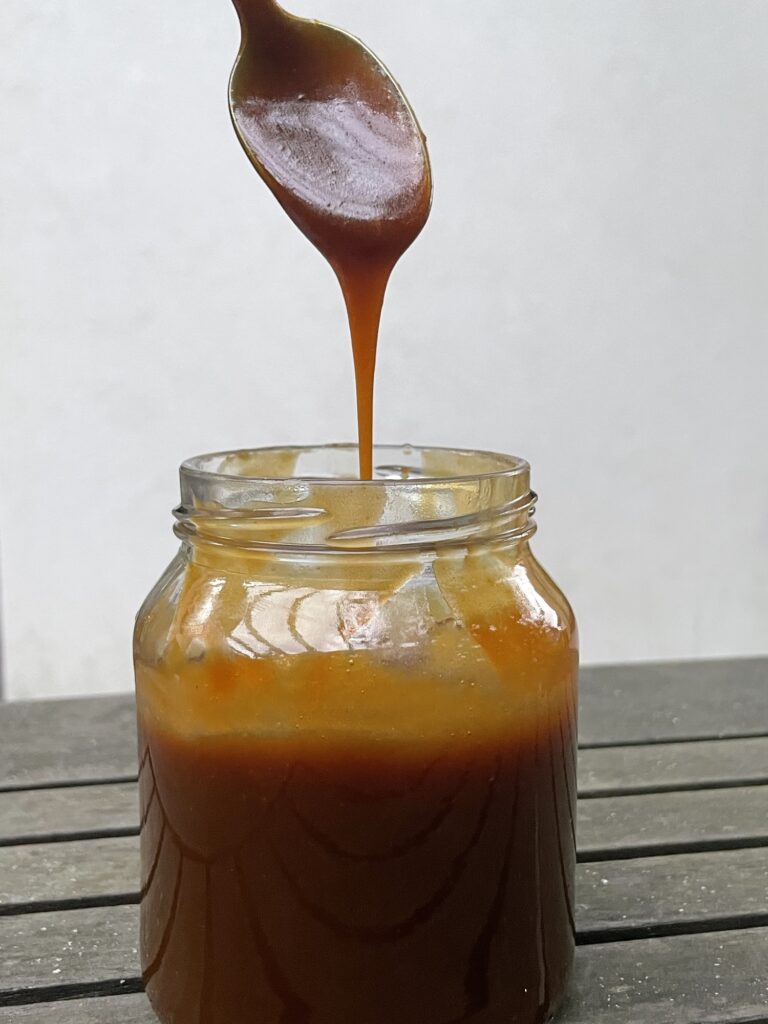
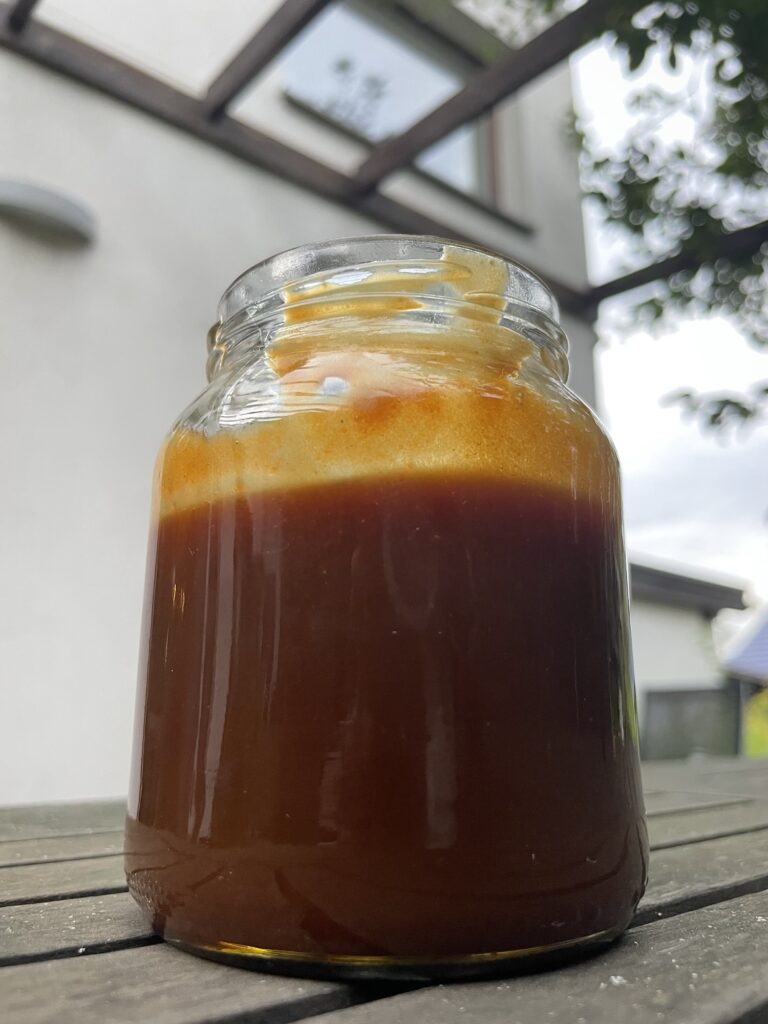
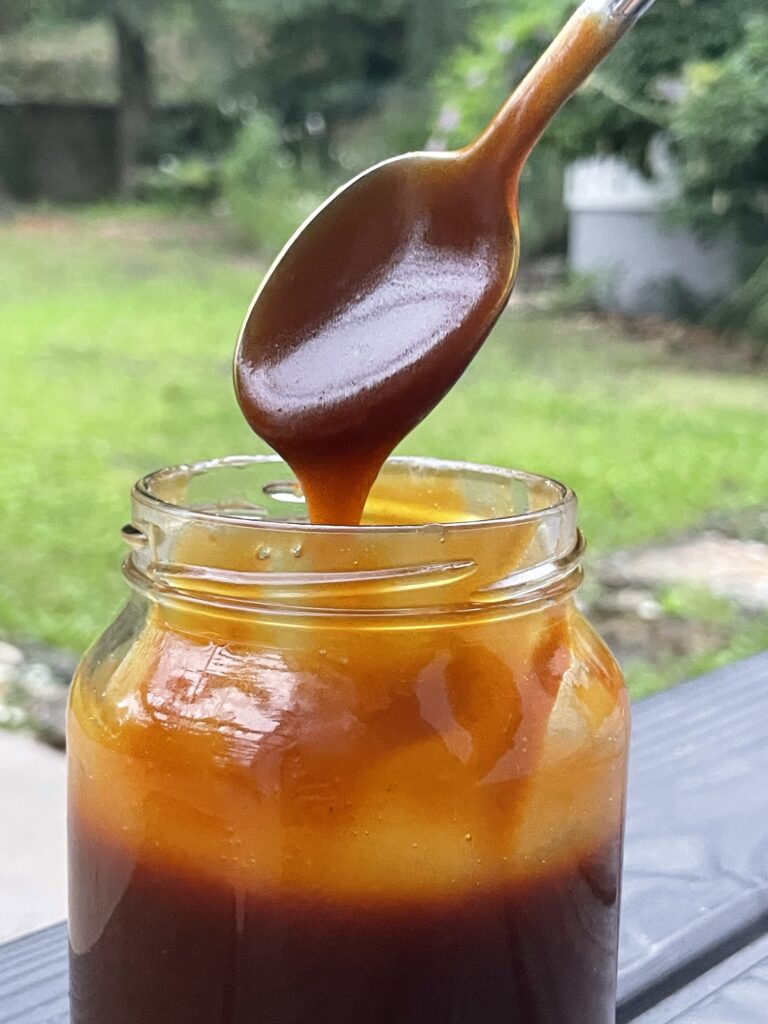
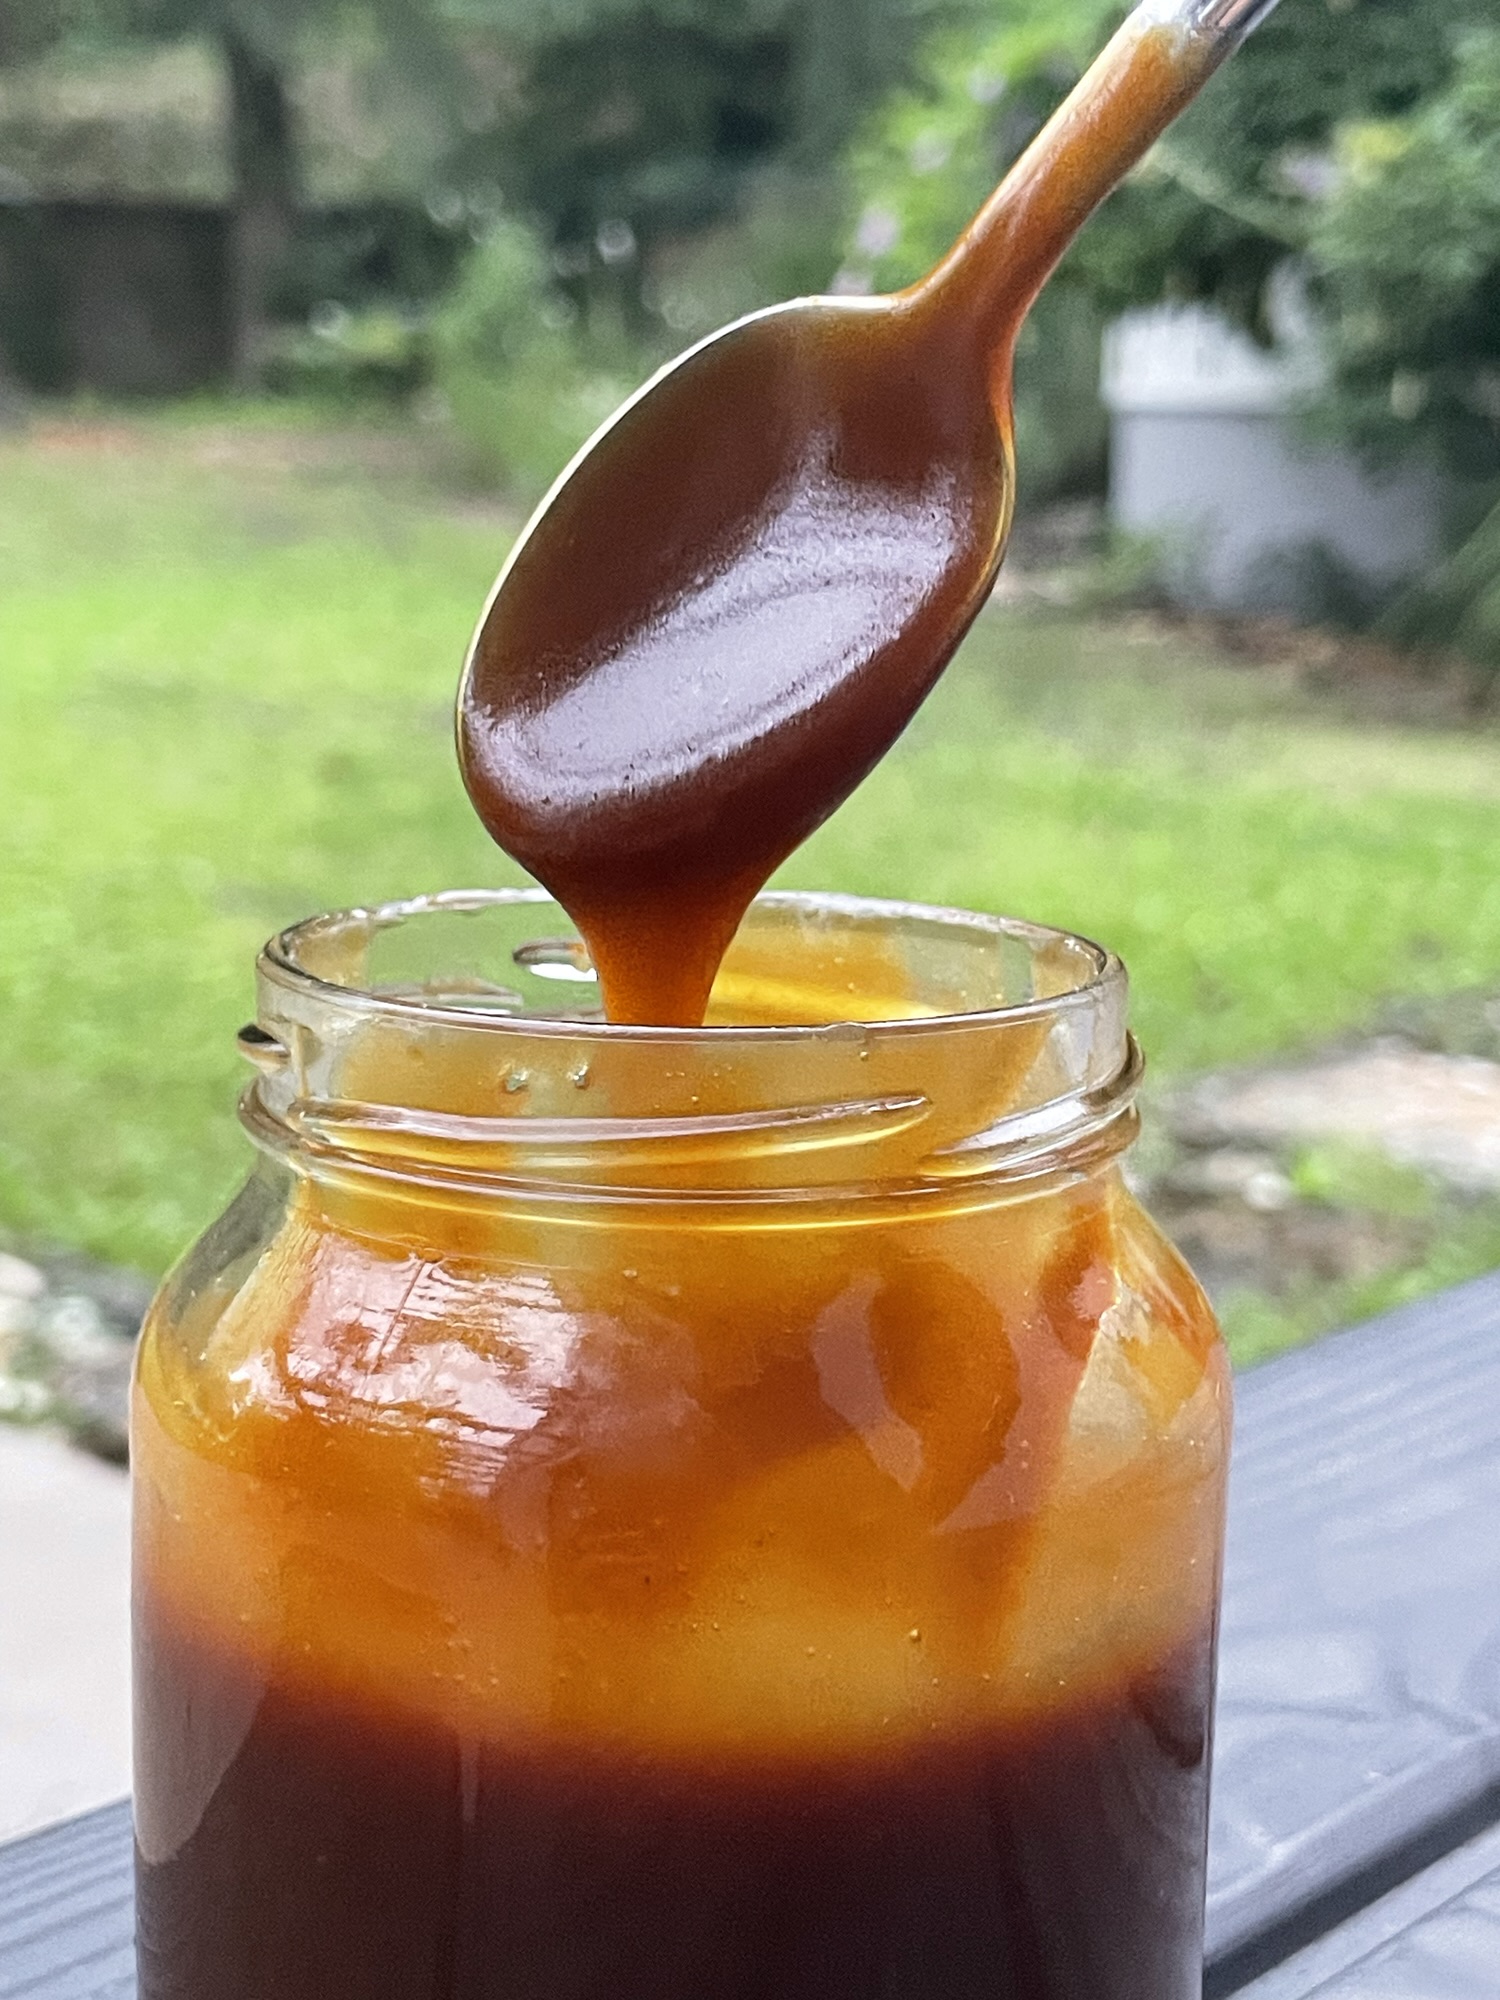
Straight off the heat, this caramel will look thinner and more liquid than you might expect — that’s completely normal. It thickens significantly as it cools down in the jar, reaching that classic pourable-but-thick caramel consistency once it’s fully cooled.
If you taste it hot and think it seems too thin, resist the urge to keep cooking it longer — just let time and cooling temperature do the work instead.
So Many Ways to Use It
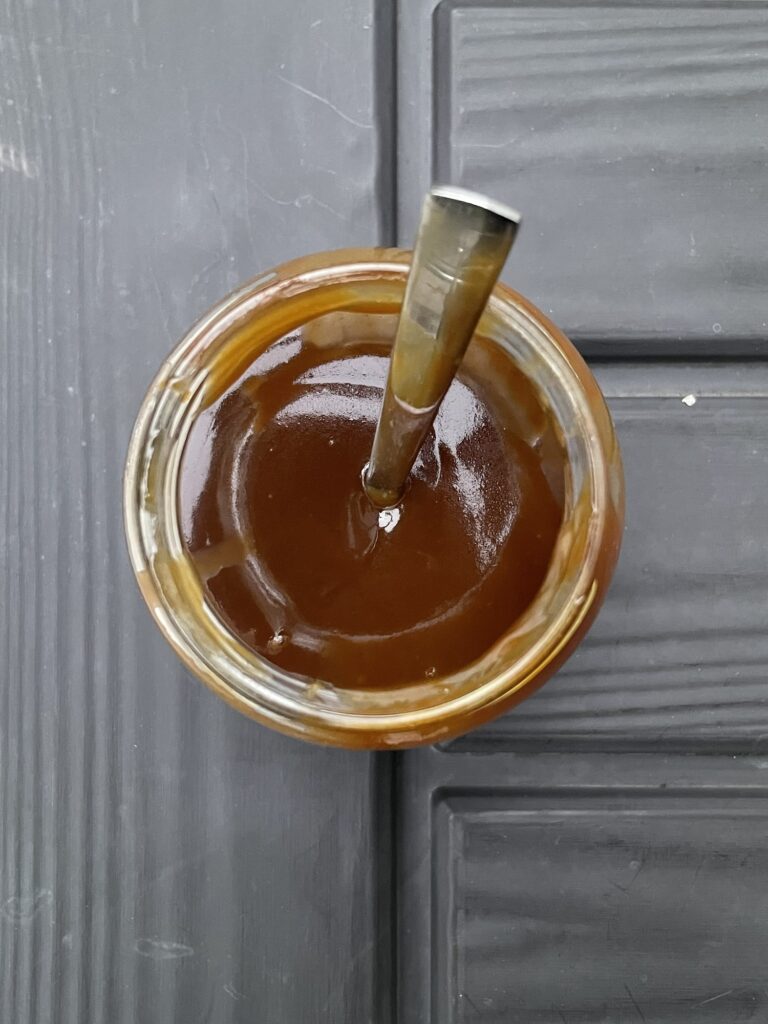
This caramel works well drizzled over ice cream, swirled into brownies, layered into a cake, or even just eaten by the spoonful straight from the jar (I, for example, could not resist lol). Once you’ve got a batch made, it’s hard not to find excuses to use it.
Making a batch ahead of time means you always have something ready to elevate a simple dessert into something that feels a lot more special, with almost no extra effort.
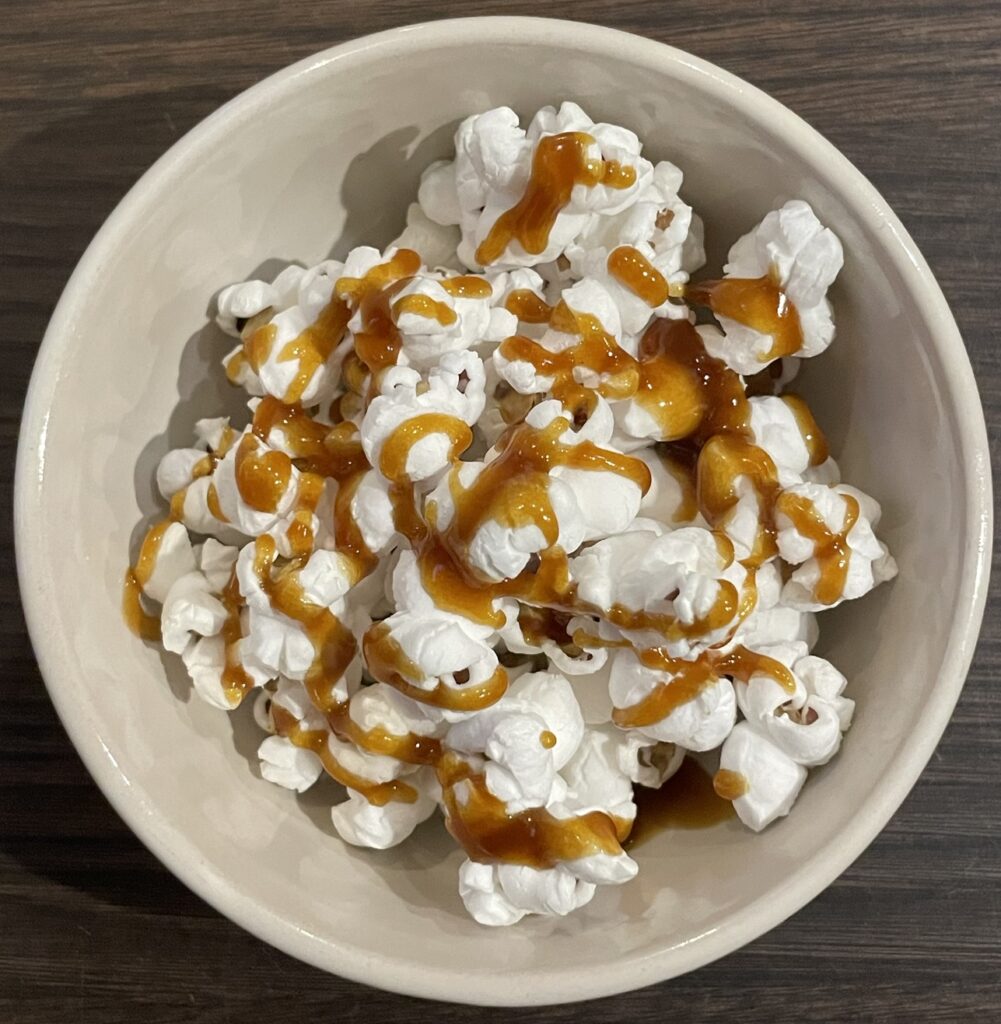
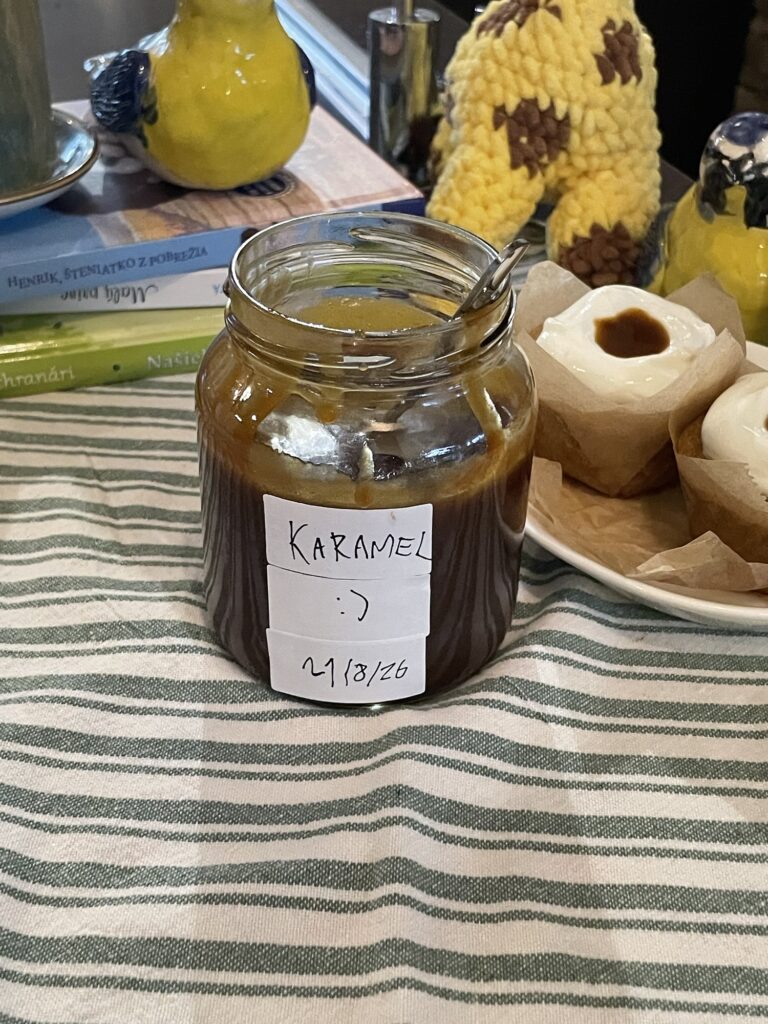
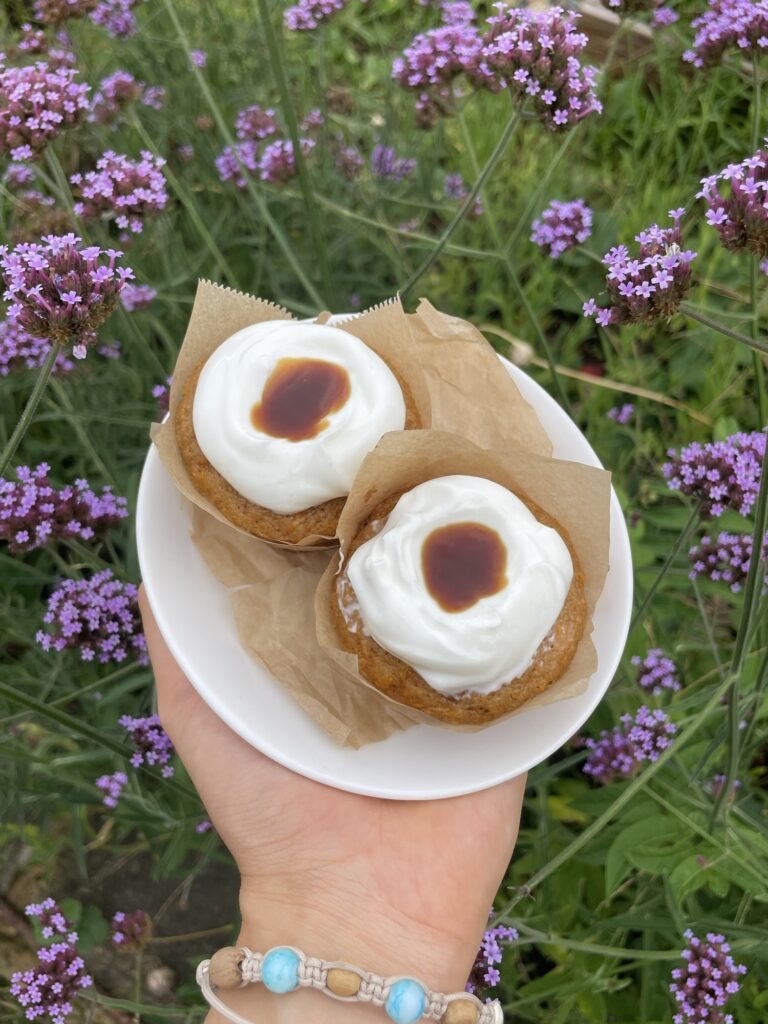
I also like to put it on carrot muffins.
Frequently Asked Questions
It keeps well for about a month in a sealed jar in the fridge.
This usually happens if the sugar crystallizes before fully melting — try using a lower, more patient heat next time, and avoid stirring too aggressively while the sugar is melting.
Yes, just warm it gently in the microwave in short bursts, or over low heat on the stove, stirring until it loosens back up.
Your cream was likely too cold — make sure it’s at room temperature before adding it in.
What you need 🛒
- 120g granulated sugar
- 80g butter, room temperature
- 120ml heavy cream, room temperature
- Pinch of salt

Homemade Caramel🍯
Ingredients
Method
- Melt the sugar: In a dry, non-stick pan, add the granulated sugar and let it melt, stirring occasionally over medium heat. Be patient — it'll form clumps before it fully melts, but it will get there. Keep an eye on it to make sure it does not burn.
- Add the butter: Once the sugar has melted, add the butter — it'll start to bubble up, so mix quickly for approx. 2-4 minutes.
- Add the cream: It's okay if it's not fully combined yet with the butter at this point. Remove the pan from the heat and slowly add the heavy cream while mixing quickly — it'll bubble up, but don't worry, just keep mixing for approx. 5 minutes.
- Cool and store: Stir in a pinch of salt, then transfer to a glass jar and let it cool down to thicken.
[…] Add the caramel, cinnamon, and nutmeg (if using), and […]